Repairing custom made picture frames
Picture frames are something that we often take for granted. We buy them at the store or online, or someone is kind enough to build custom picture frames for us, ready to be hung on the wall or placed on a shelf. But what happens when your favorite picture frame gets damaged especially custom-built ones? If you’re lucky, the damage is minor and can be easily fixed with some glue. But if the damage is more significant, you might need to take the frame to someone who knows how to repair picture frames. Custom picture frames can be especially tricky to repair because they are often made with unique materials or intricate designs. if you’ve got a broken picture frame, don’t throw it away – get it fixed!
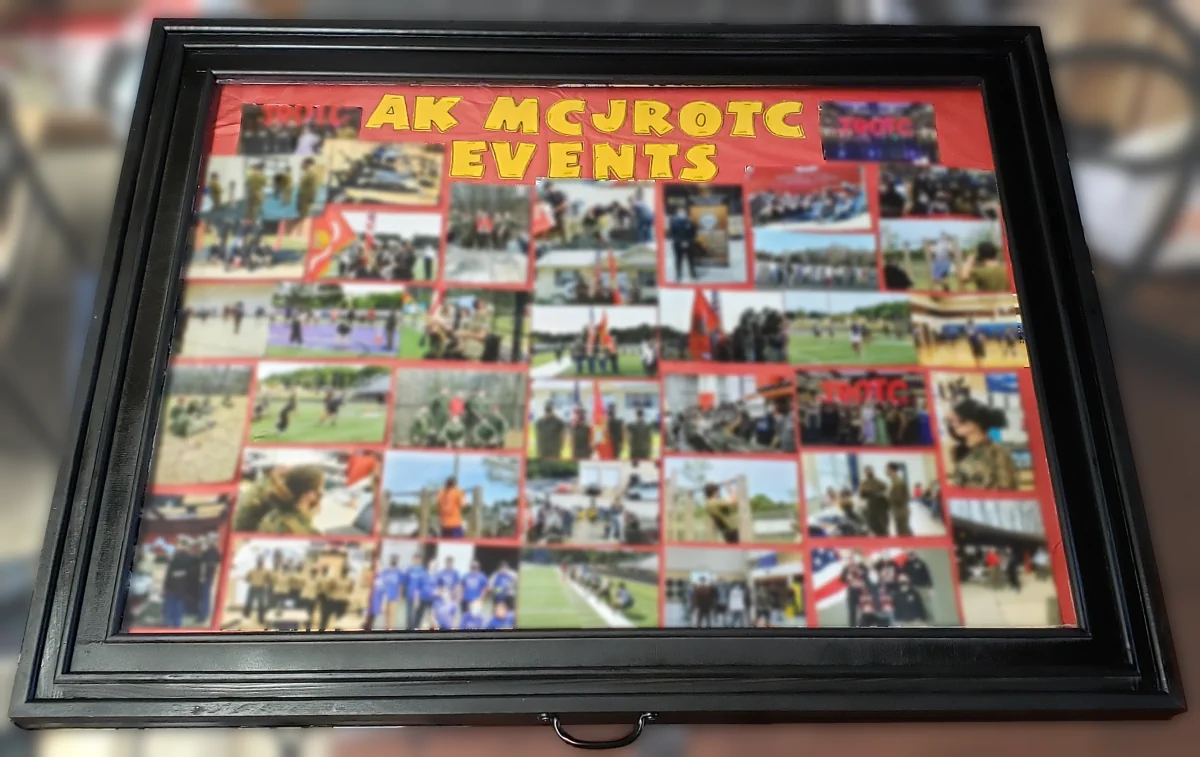
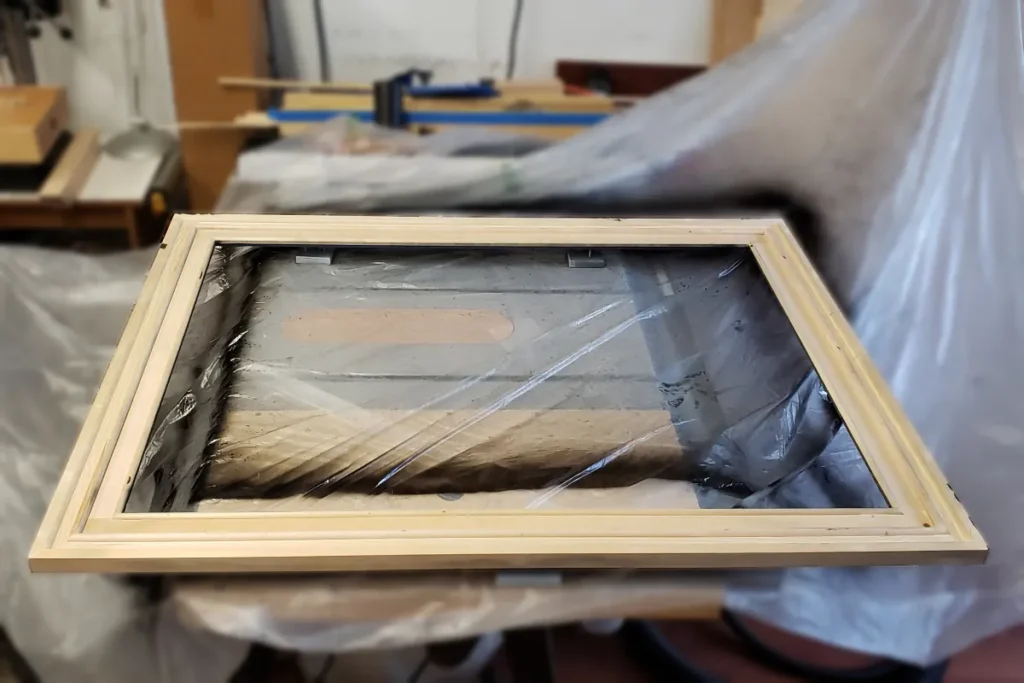
Here is the picture that I will be working on bringing back to life:
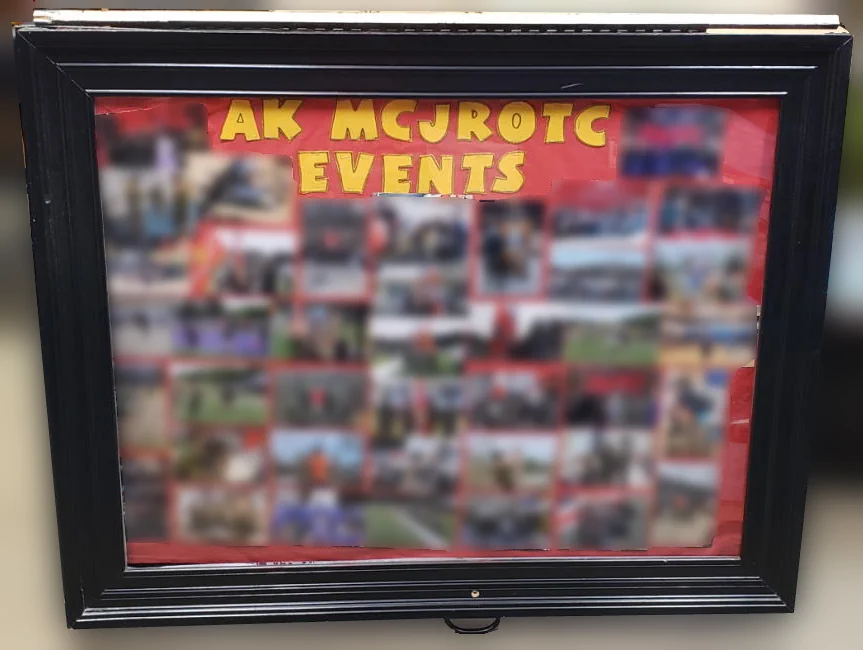
First of all, this is a large picture frame: 4 feet by 3 feet. It was probably made by a high school student’s parent which we all are thankful for. The picture frame has a hinge at the top so that it was possible to open the frame without removing it from the wall and changing pictures. This is a great feature I think.
Repairing vs Rebuilding
There are many different ways to approach the custom frame repair process. Some people like to take a “repair” approach, while others prefer a “rebuild” method. Here are some pros and cons of each approach:
Repair:
-Pros: Can be less expensive than a complete rebuild.
-Cons: Often results in a weaker frame overall.
Rebuild:
-Pros: Creates a stronger, more durable frame.
-Cons: Can be more expensive than a repair and most of the time requires more effort and time.
My goal was to repair this frame with least amount of expenses and use materials that I already had. Unfortunately after inspection of the frame I realized that the front of the frame was made from baseboards which were made from MDF. MDF is typically non repairable when it cracks from impact and if you decide to go the repair path it it will not look as great and will most likely be weak. So I decided to take rebuild path. And I realized it will not be an easy path and will take some time. Let’s get to it.
Inspecting the damage of the picture frame
Let’s review what happened to the frame and what needs to be worked on to bring it back to life.
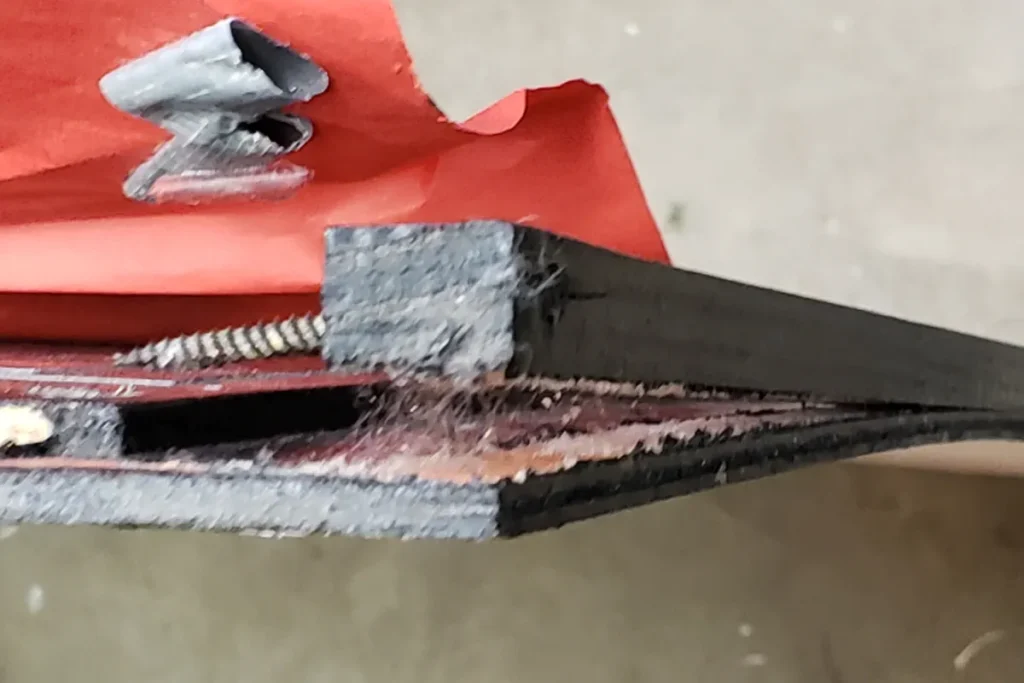
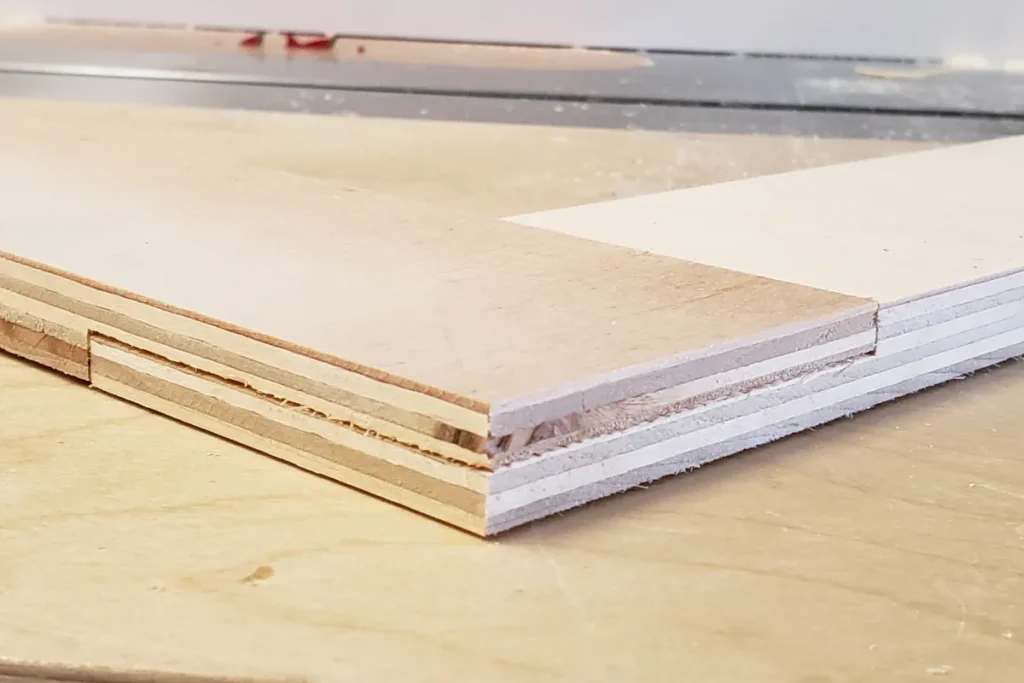
The frame has a two parts, one which is attached to the wall (back of the frame) and front that is connected to the back via a hinge at the top of the frame. The top part which was glued to the back of the frame detached the front of the frame. Here is the side view of the it.
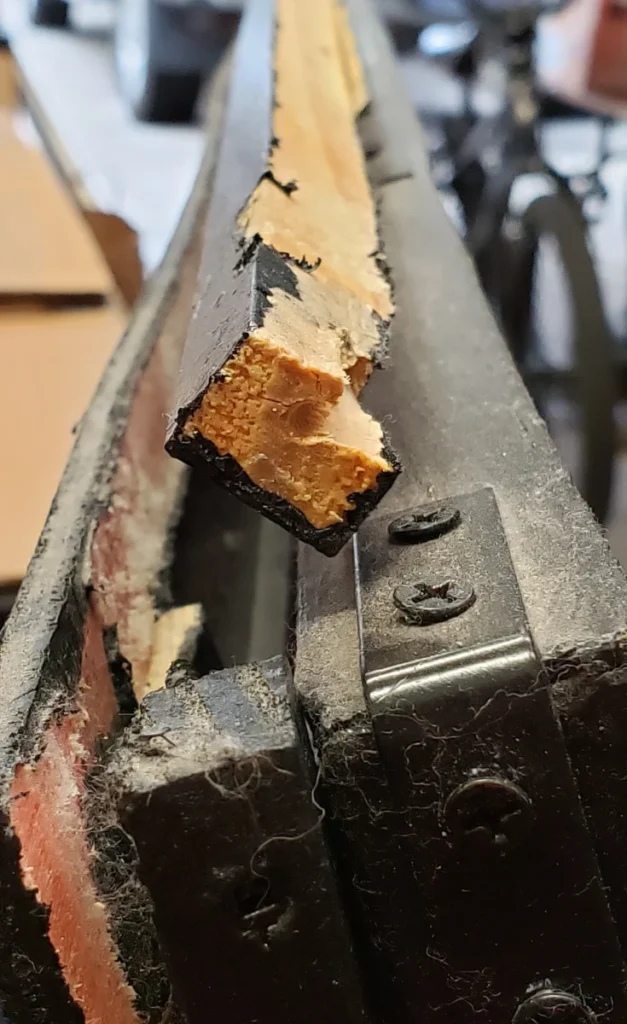
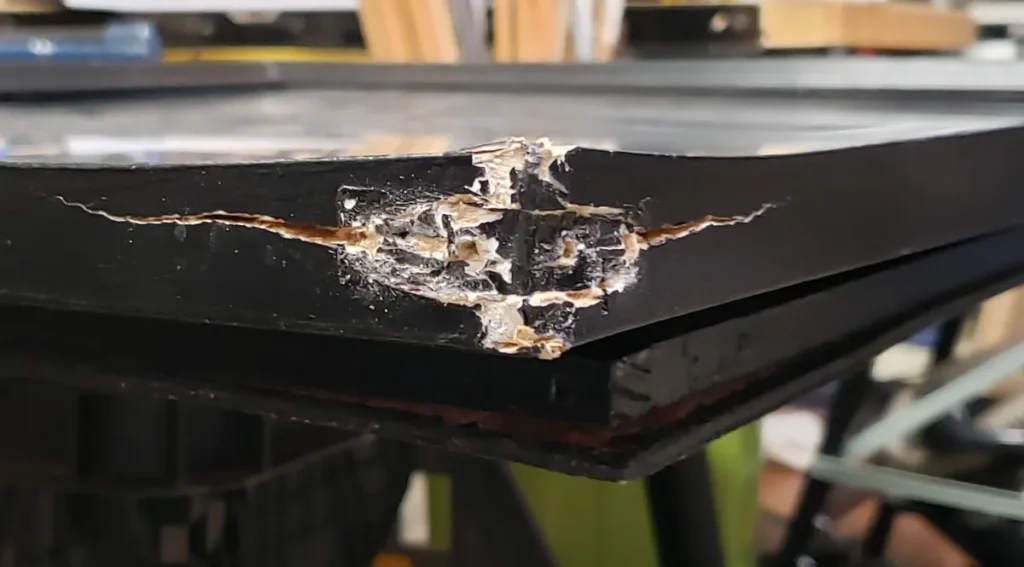
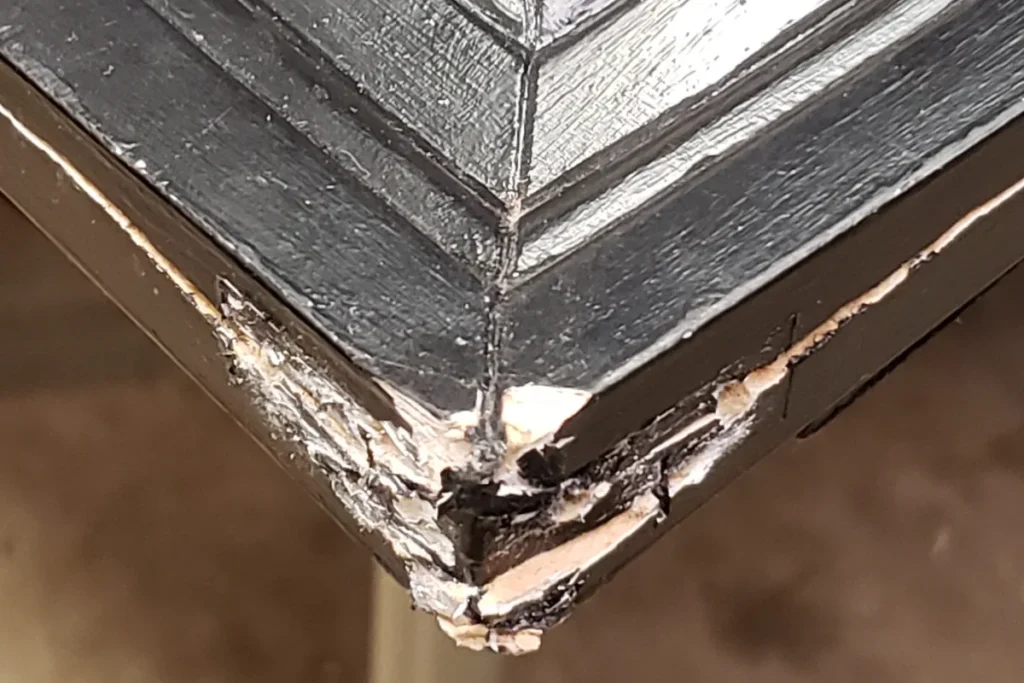
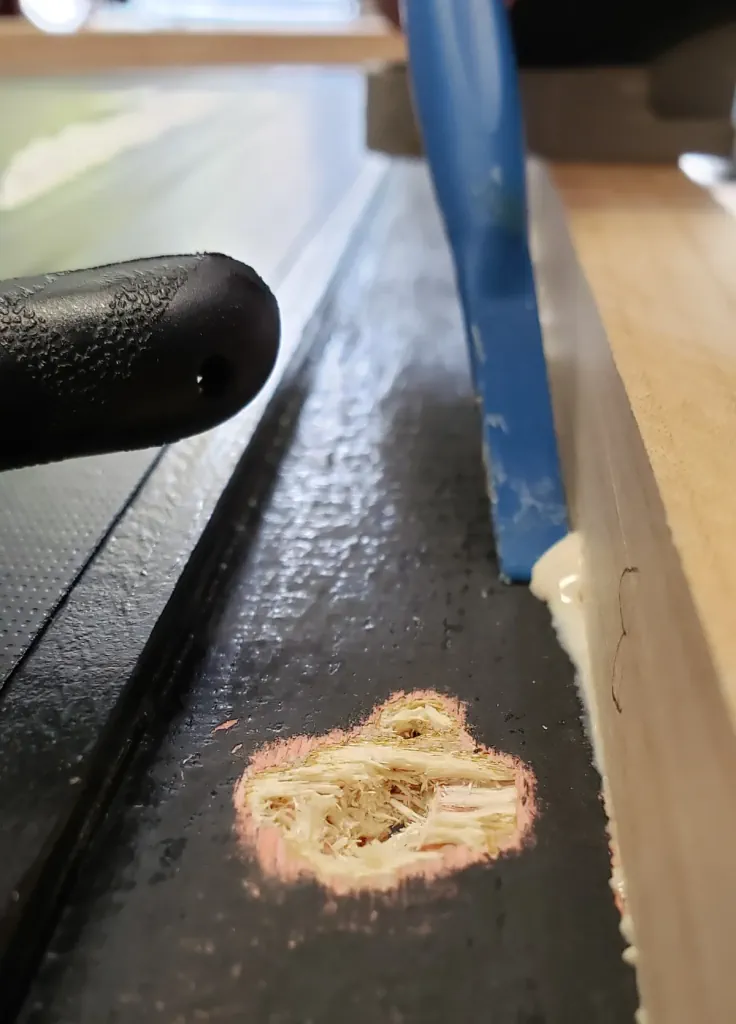
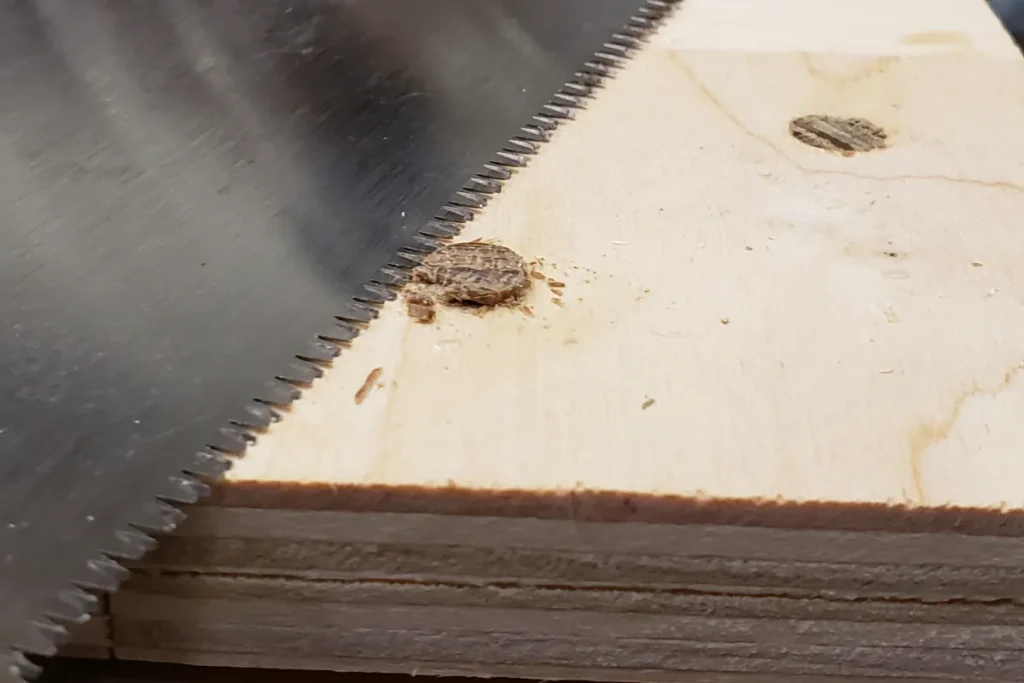
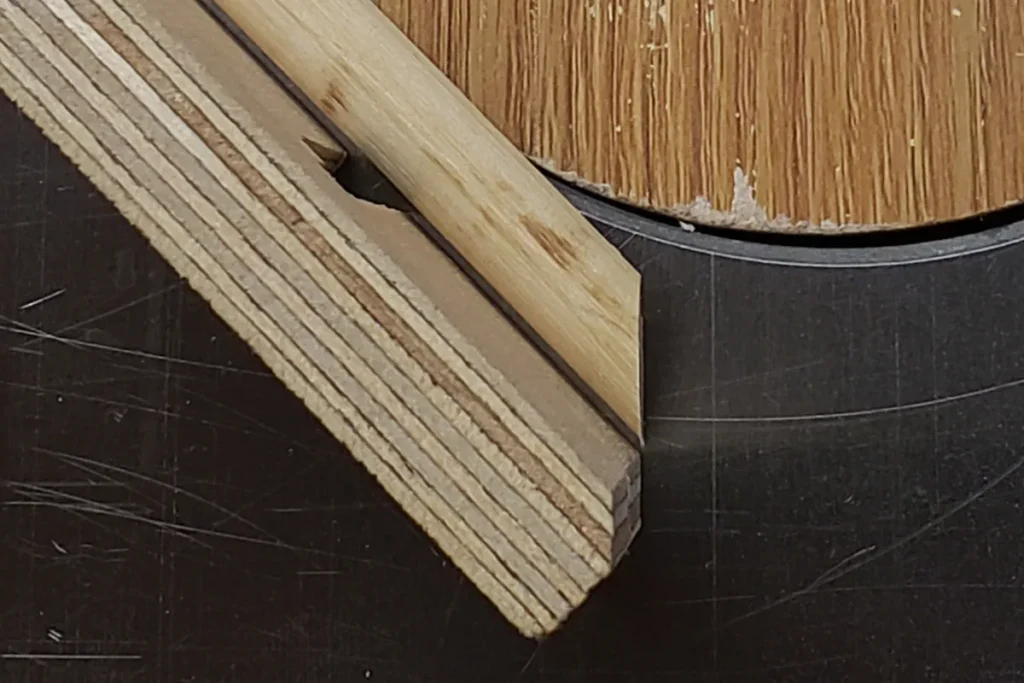
The front part of the frame fell down hitting the floor with one corner. This reveled that front part of the frame was made from MDF type material and had a big crack that was not visible if you look at the picture from the front:
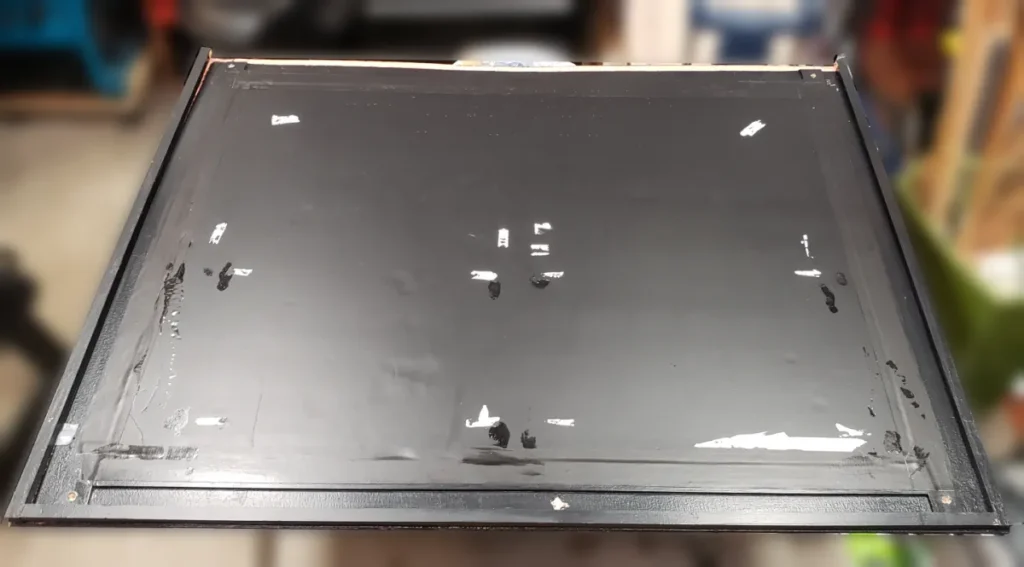
And the back of the picture frame was pealing off most likely due to insufficient glue amount or defect during gluing process and the fact that particle board was bending added to the cause of detaching side board support from the back:
Rebuilding frame process
Preparation
Before rebuilding the frame process, I removed pictures and letters that were stapled to the frame so that they do not get damaged during the process:

Since the top board of the back frame and partial side boards were detaching from the back, I suspected that all the boards might detach at some point so I decided to remaining three boards and rebuild frame boards. I removed all the boards and sanded with Bosch Random Orbital Palm Sander (ROS20VSC) and 80 grid sand paper:
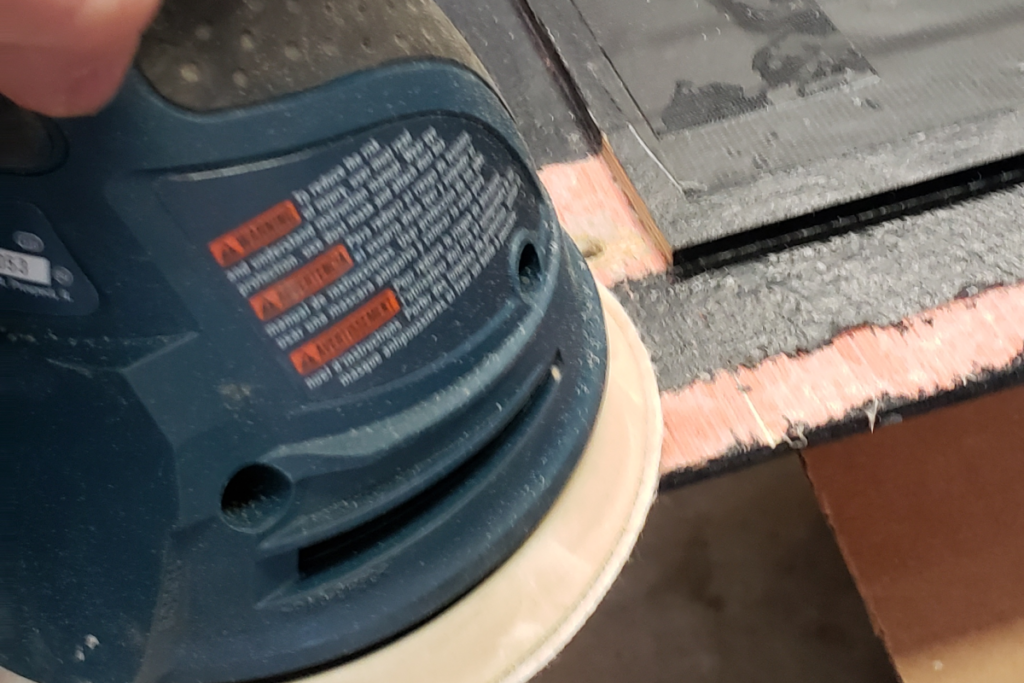
Sanding backboard was important to make sure that I get a clean surface to glue new boards to the back panel.
Cutting back frame boards
I had hard maple wood pieces that I cut them to length and used them as back frame boards. Sides and bottom were 3/4 inch in thickness and width. I wanted to make sure that the top part is stronger since it will hold the front frame which will always receive pulling. So I made the top frame board 2 1/2 inch width. I cut the board to length and did dry fitting before gluing them:
Gluing back frame boards
Since this frame will be used indoors I decided to use Titebond II Premium Wood Glue. However for the top part of the frame I used Titebond III Ultimate Wood Glue – I wanted to make sure that it will have extra strength and will not get detached. As always, spreading glue evenly for maximum glue up strength:
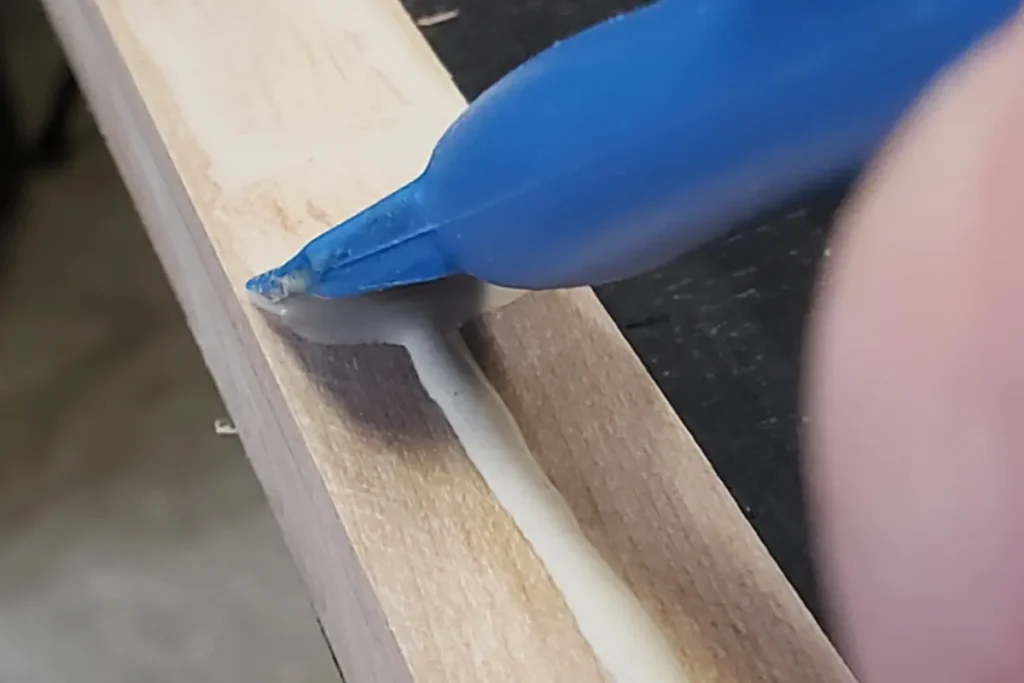
The back of the frame, which is particle board, was bent outwards, I needed to make sure that the back of the frame will be as straight as possible. During gluing process I used as many clamps as I had to straighten the particle board:
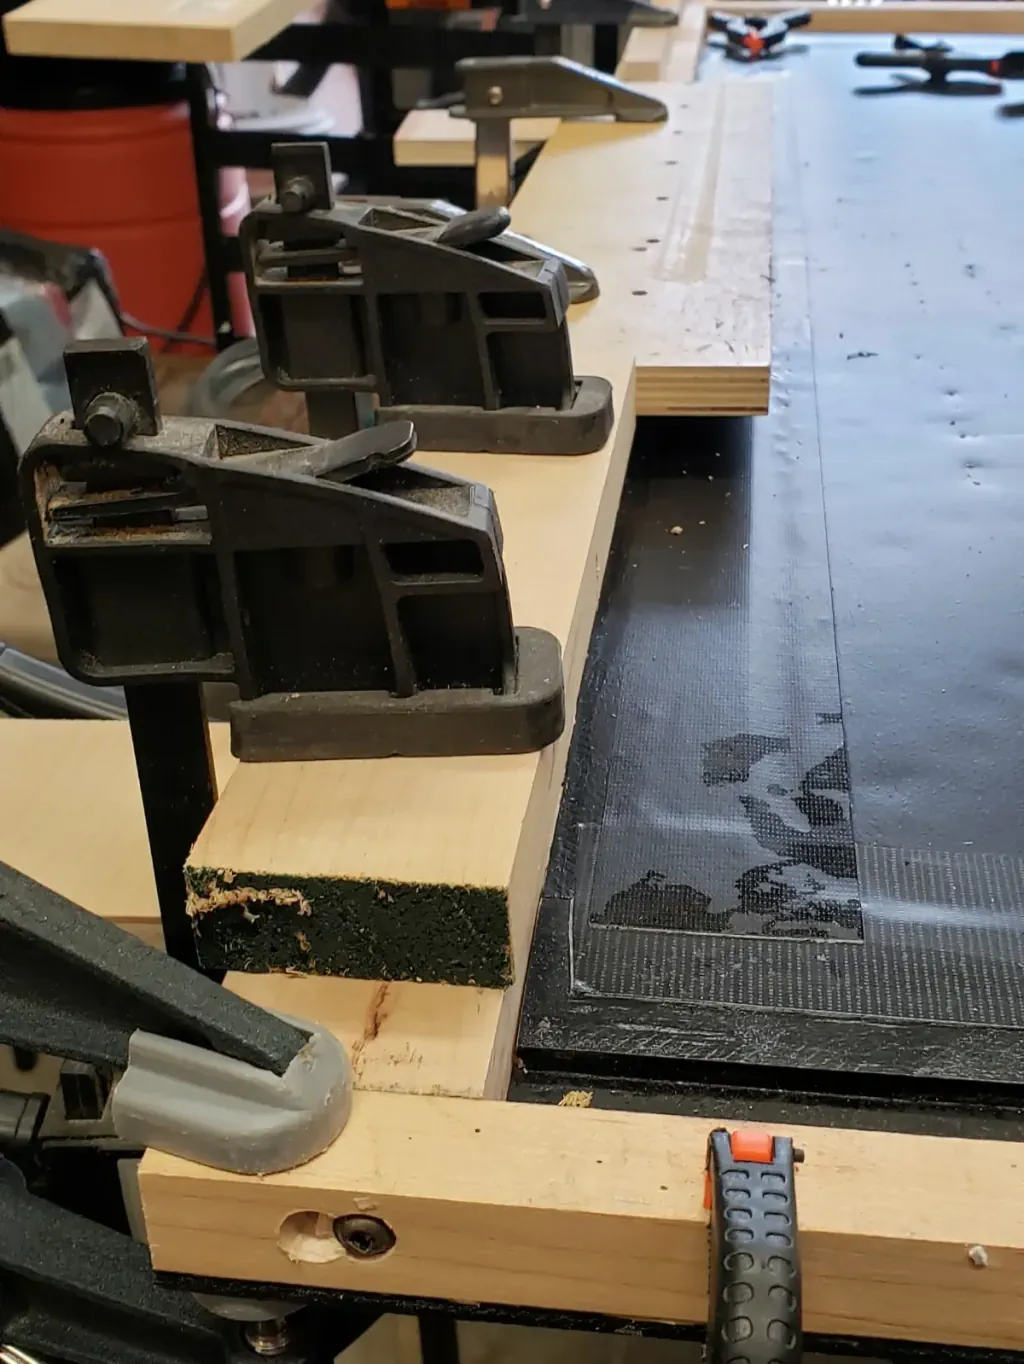
If you have enough glue applied you should see some glue squeeze out. I use Rockler Silicone Glue Brush when applying glue and remove glue excess as well. Really great tools and easy to clean these tools – just wait until glue dries on them and it is easy to remove glue from these Rockler Silicone Glue Brushes.
After I removed glue excess with silicone brush, I used damp cloth to remove remaining glue squeeze out:
Building front picture frame
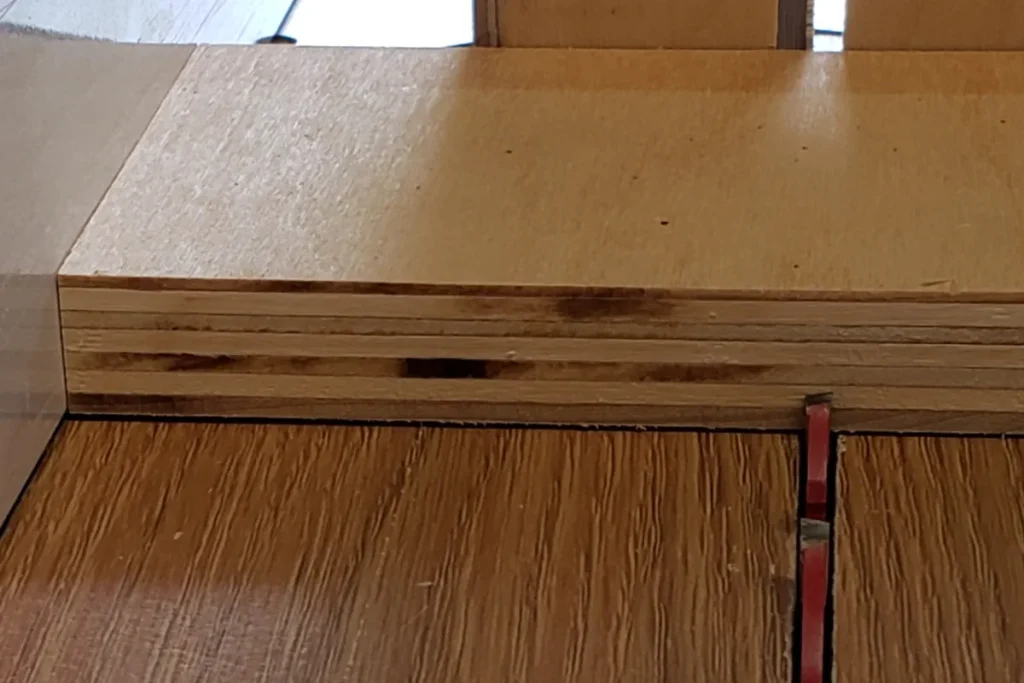
Whoever built the front frame originally used MDF material which is really not great if you need to attached it using screws. So I had 9/16 inch plywood that I got from Charlotte Woodworkers Association awhile back. It was ideal for building the frame:
I cut this plywood into pieces:
- 2 x 36 inch by 3 1/2 inch
- 2 x 46 inch by 3 1/2 inch
To make a frame I used half-lap joints. I cut these half-lap joints on a table saw. Unfortunately I did not have a dado blade set so I took me just a bit longer:
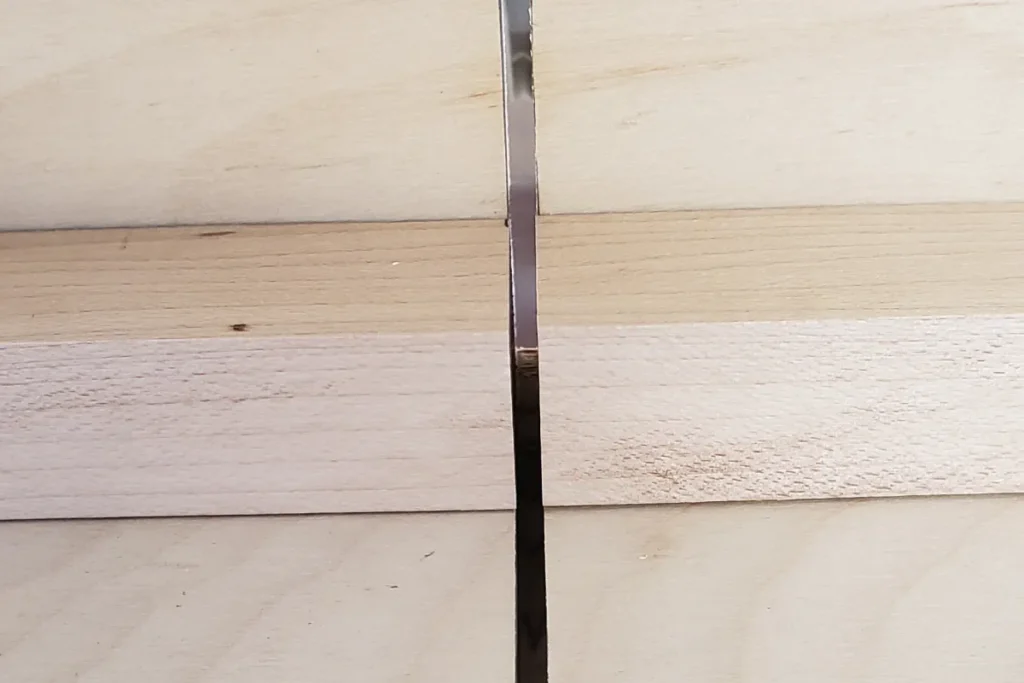
Once I had all the half-lap joints cut I dry fitted them to make sure the depth is just right before starting the glue up:
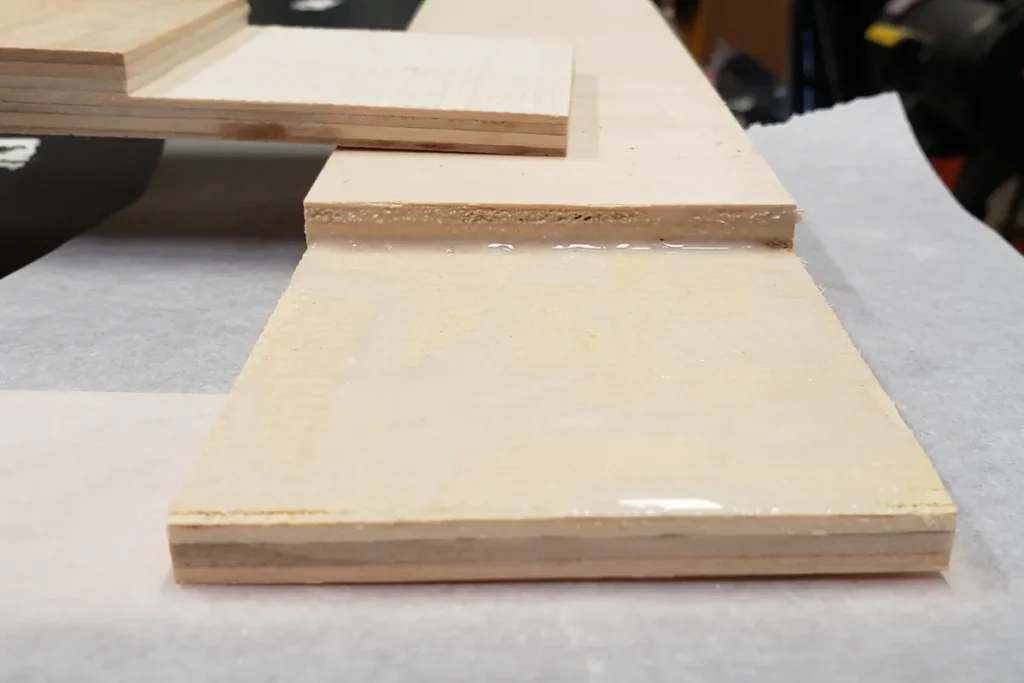
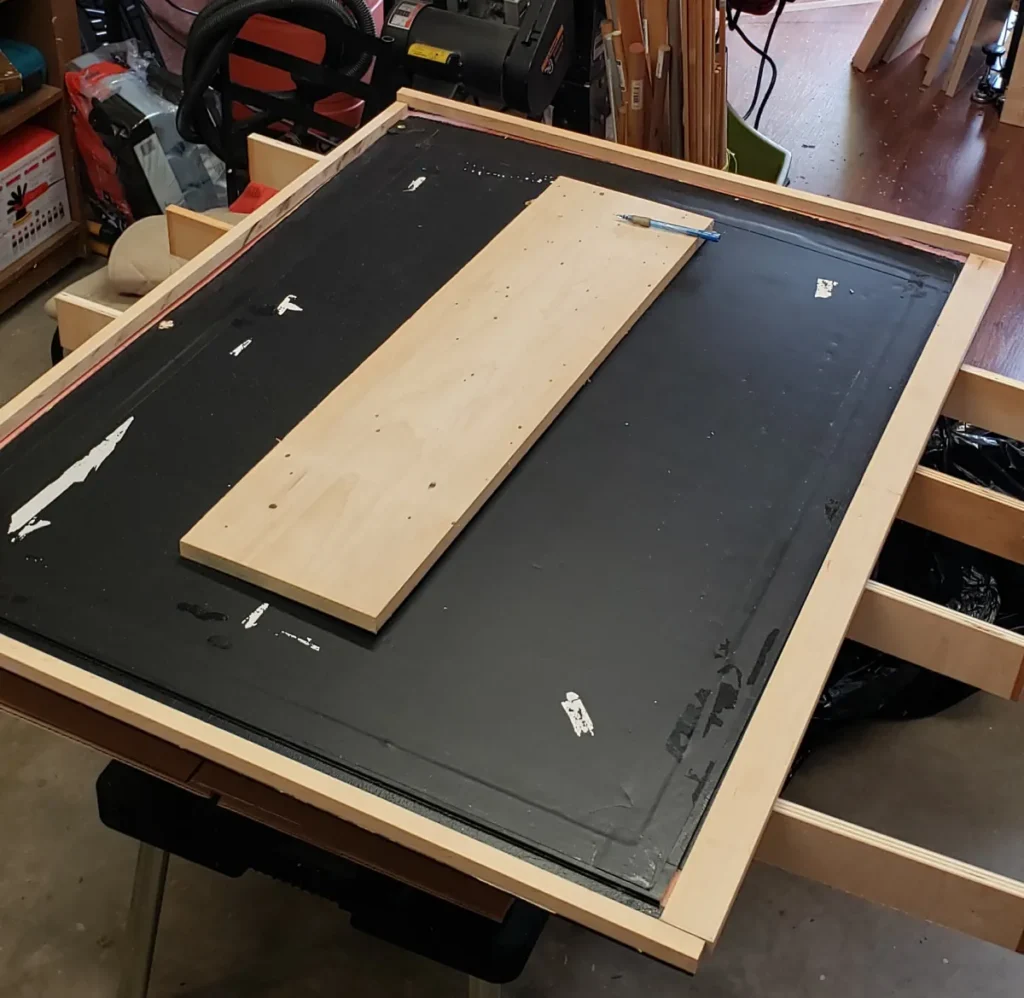
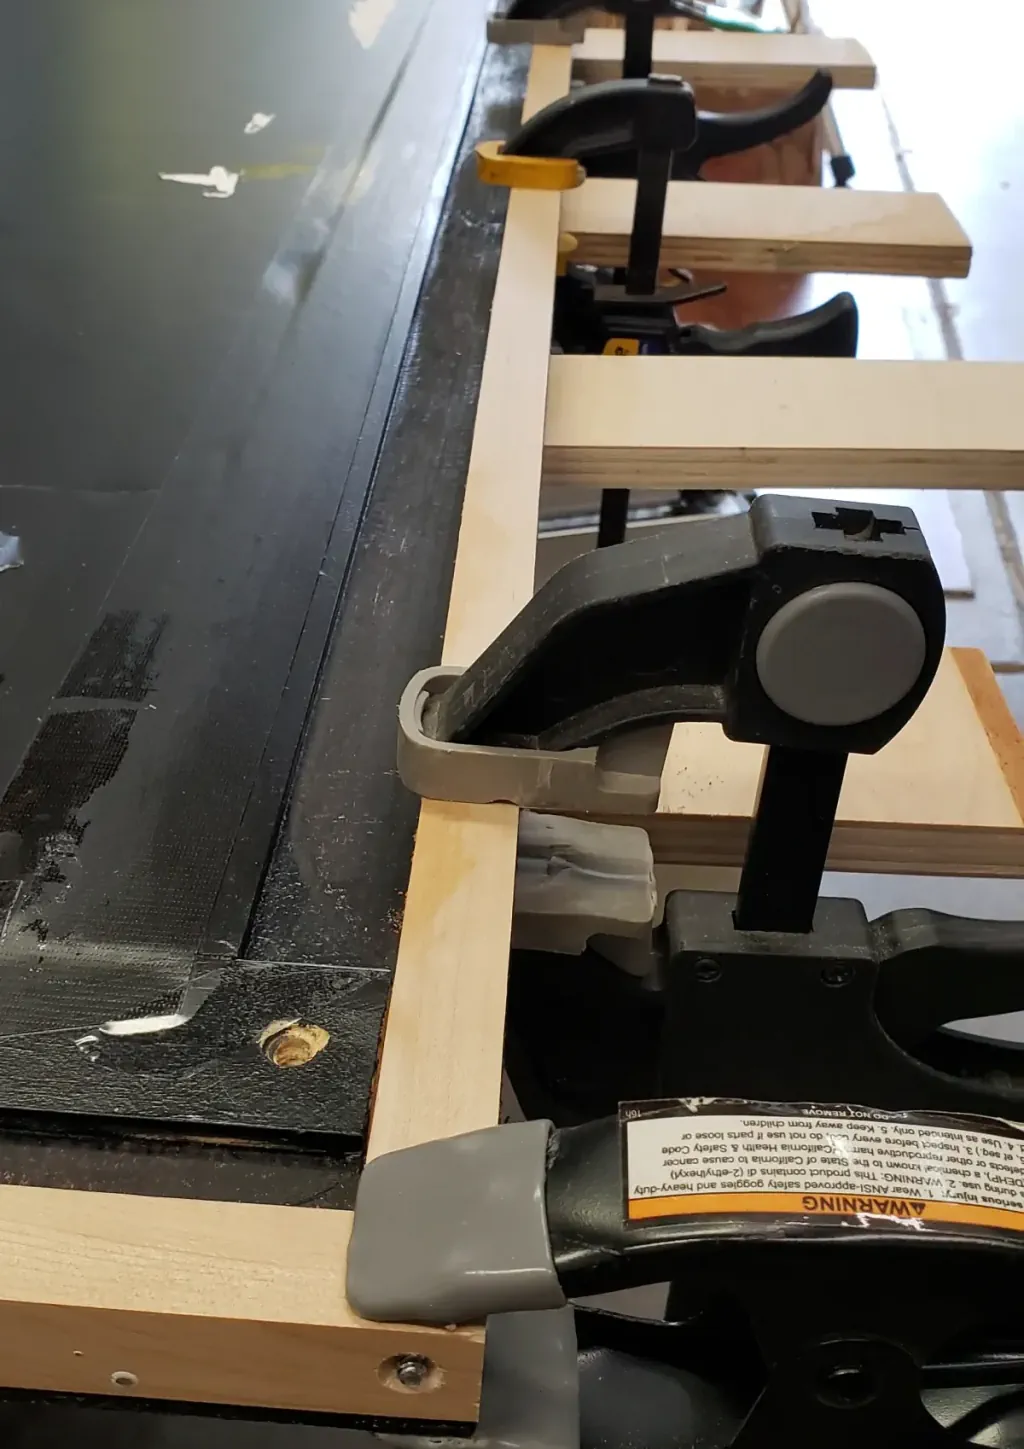
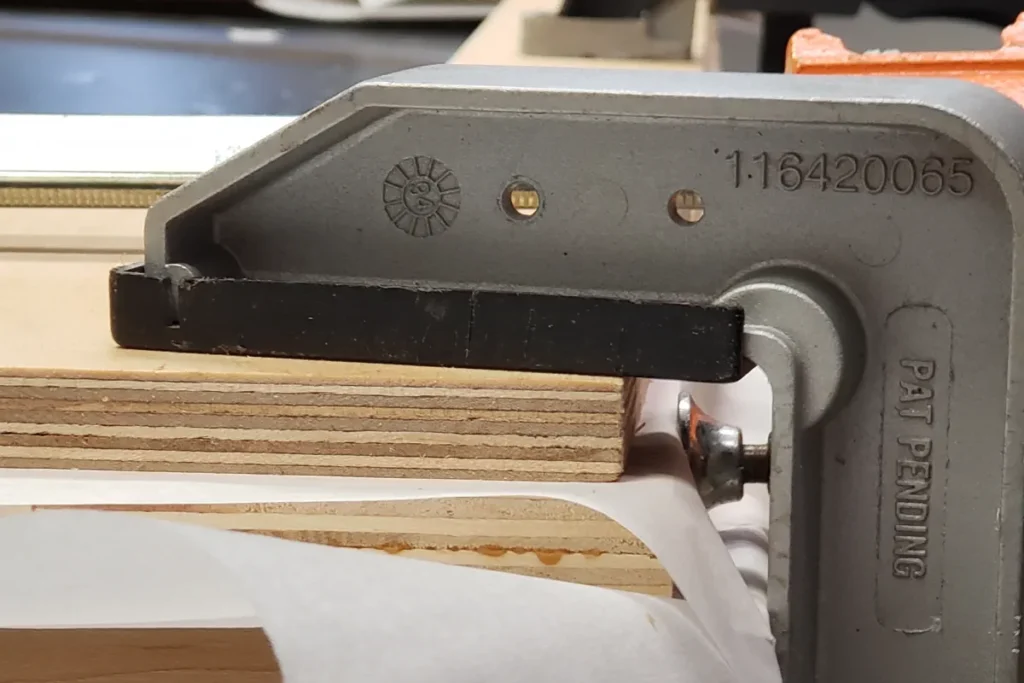
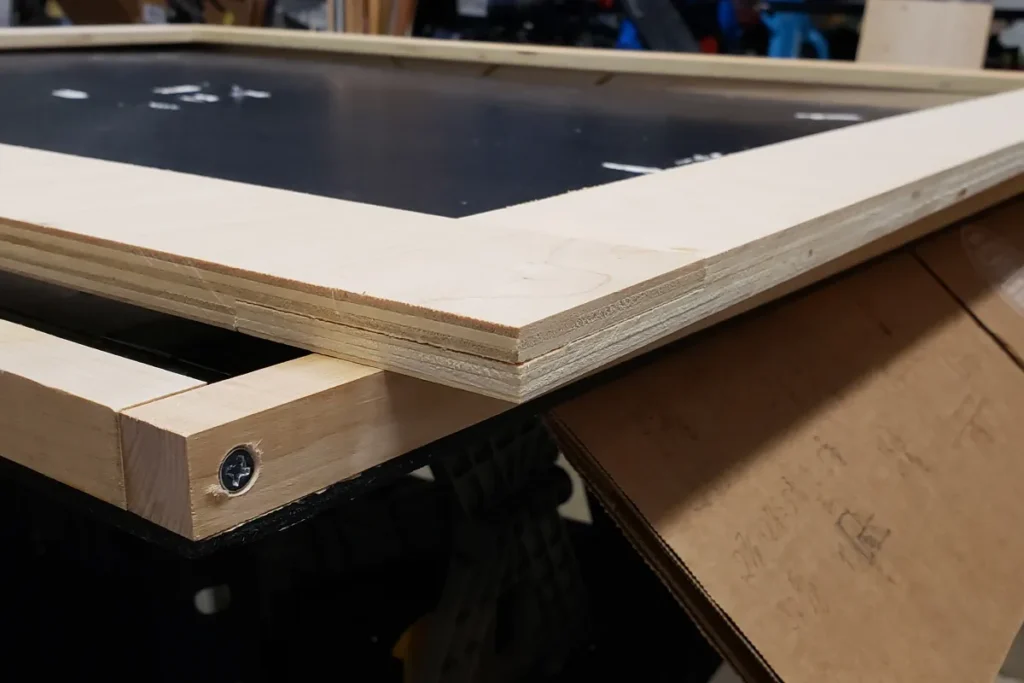
To avoid glue squeeze out I placed baking paper under these boards and clamped them to the back of the frame. I needed a large area and the only large enough was back of the frame. Here is how it looks from close up and the whole frame with a few large clamps to keep the frame in square:
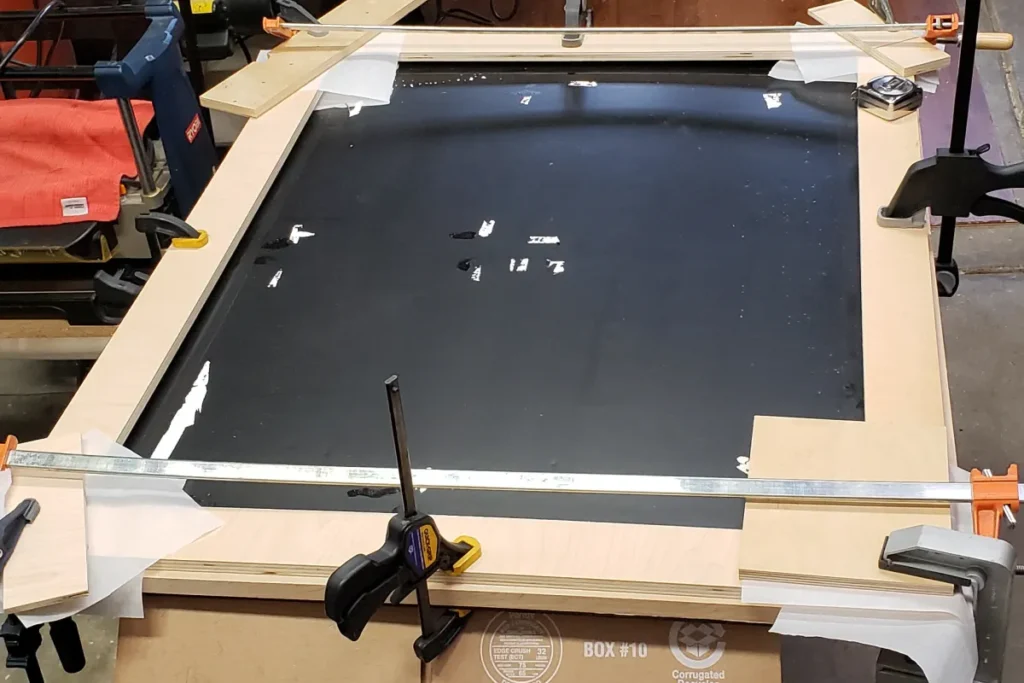
After several hours of glue drying I remove all the clamps – the frame came out great.
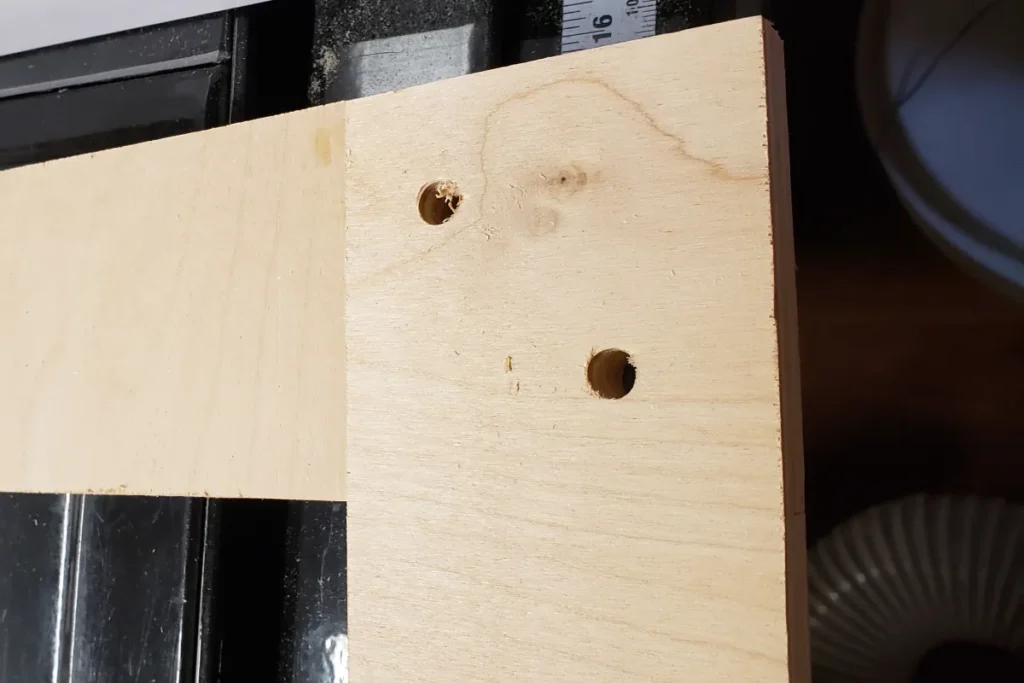
I was still worried about the strength of the frame since it will be hanging at Ardrey Kell High School I wanted to make sure that in case it gets dropped or something else, I didn’t want the frame to fall apart. So, I decided to strengthen it with wood dowels. I drilled 2 x 3/8 inch holes in each joint.
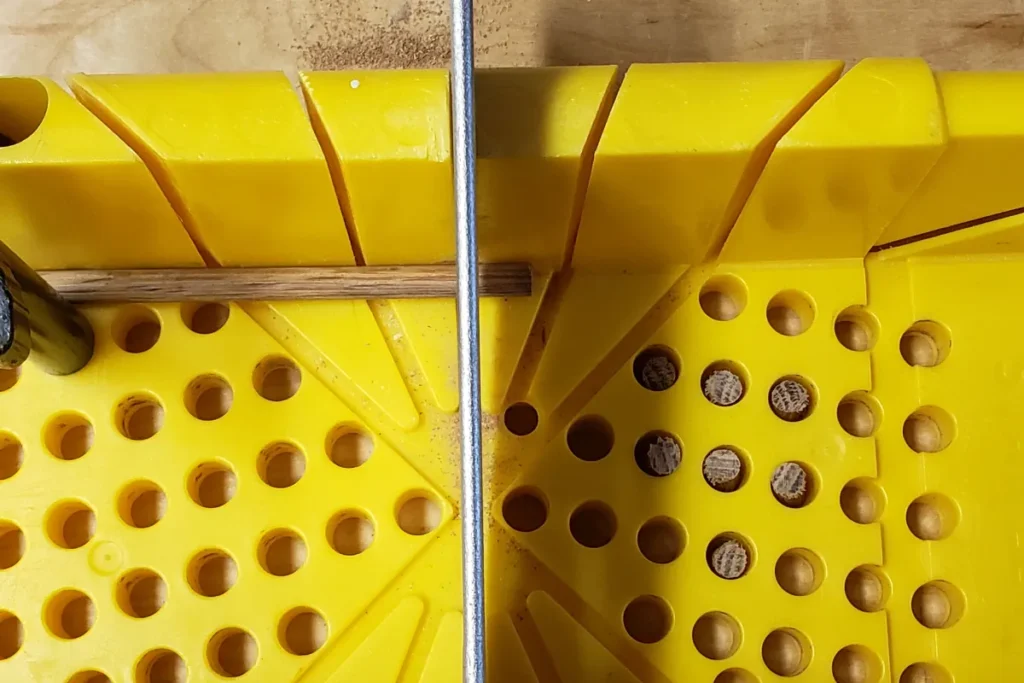
Then I cut 3/8 inch oak dowel into short pieces using Miter Box, accurate length of each piece did not matter as long as it was a bit longer than the thickness of the frame which was 9/16 inch:
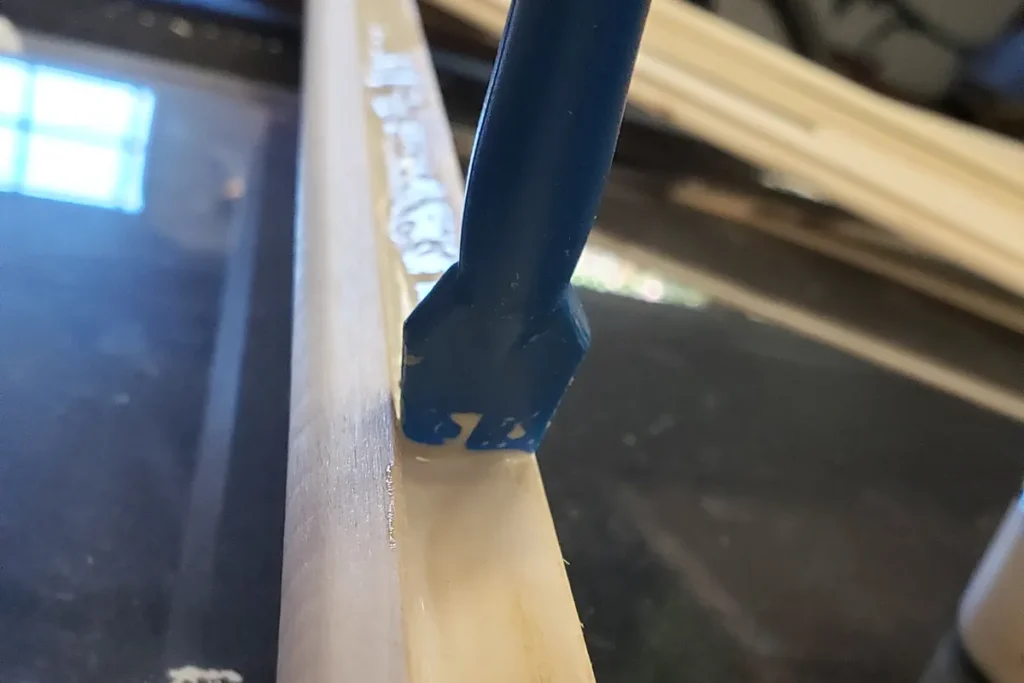
I applied a bit of glue and drove dowels in with a mallet:
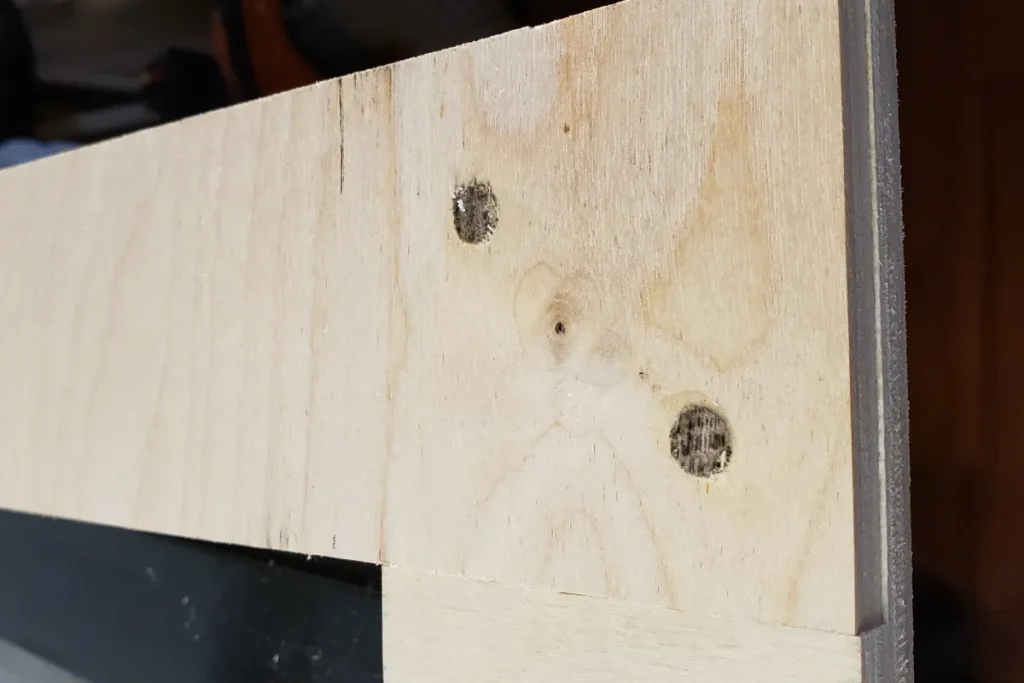
After glue dried I cut to length using pull saw:
And then leveled them to surface with STANLEY Low Angle (12-960) hand plane:
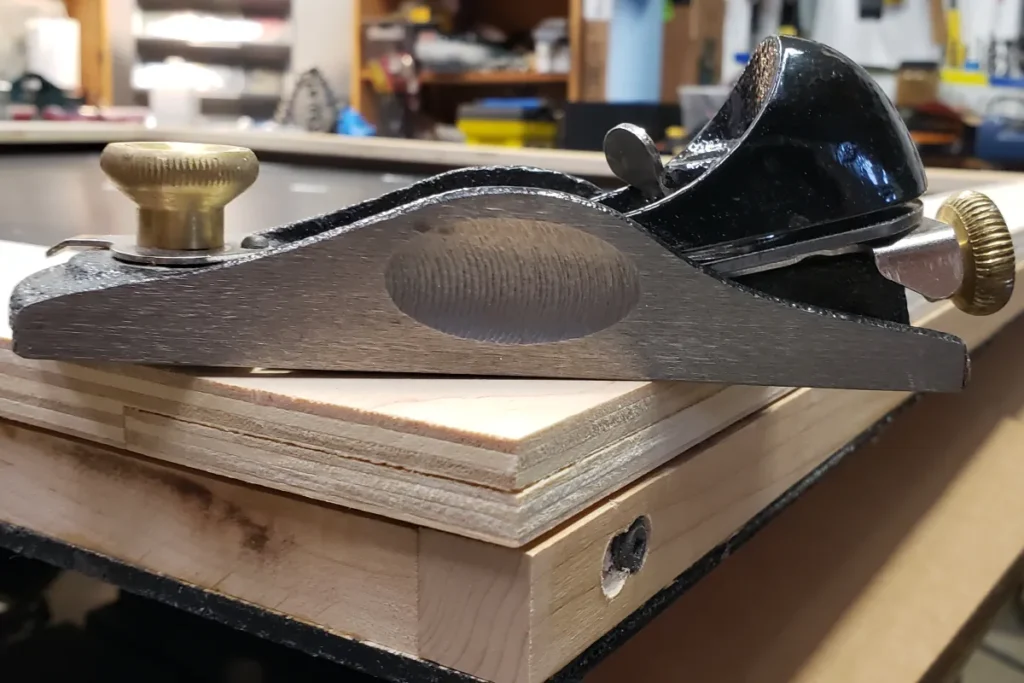
And it came out nice and strong, this frame will not fall apart that is for sure:
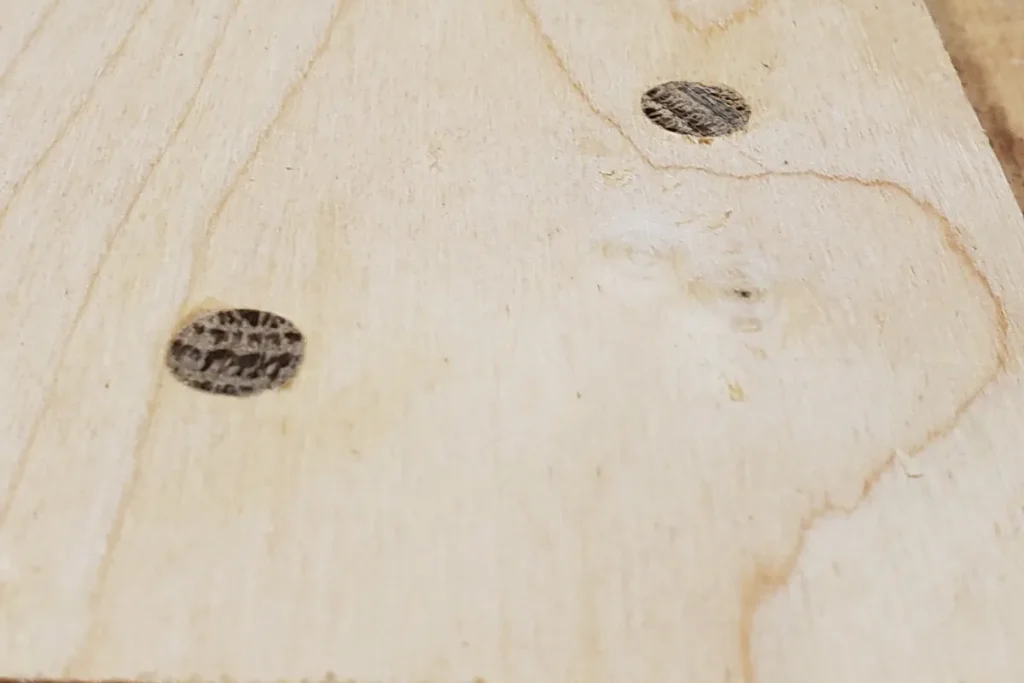
However beauty of this part is not important, since it will not be visible which I will explain later in this post.
Dressing front of the picture frame
I wanted to rebuild frame so that it would look as similar as the original one. I did not want to go into extreme and make it exactly the same, since that would have take way too much time. So I matched it as close as I could within reasonable amount of time. Here is a sketch I was aiming for:
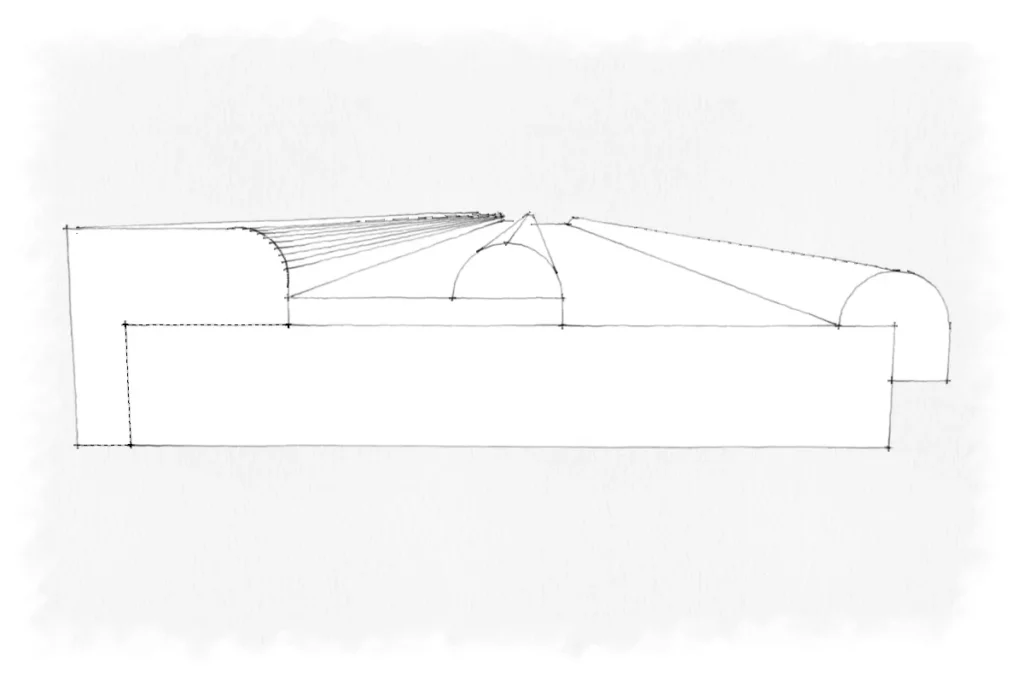
Left side is the outer part of the frame and the left side is the inner part. The inner part has a edge that will hold the glass.
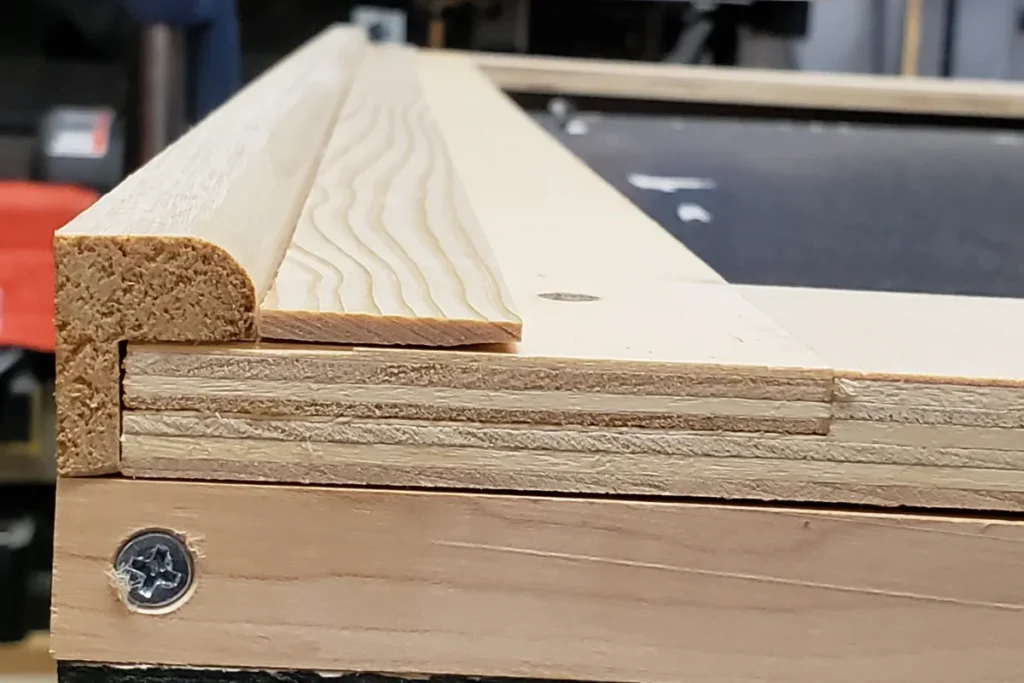
I started with cutting outer pieces and cut 4 x 1″ x 1″ boards, then cut out 9/16″ x 3/4″ gap. These cut out pieces will be used for the inner frame moulding. I am trying to reuse as much wood as I can. Here is how it looks:
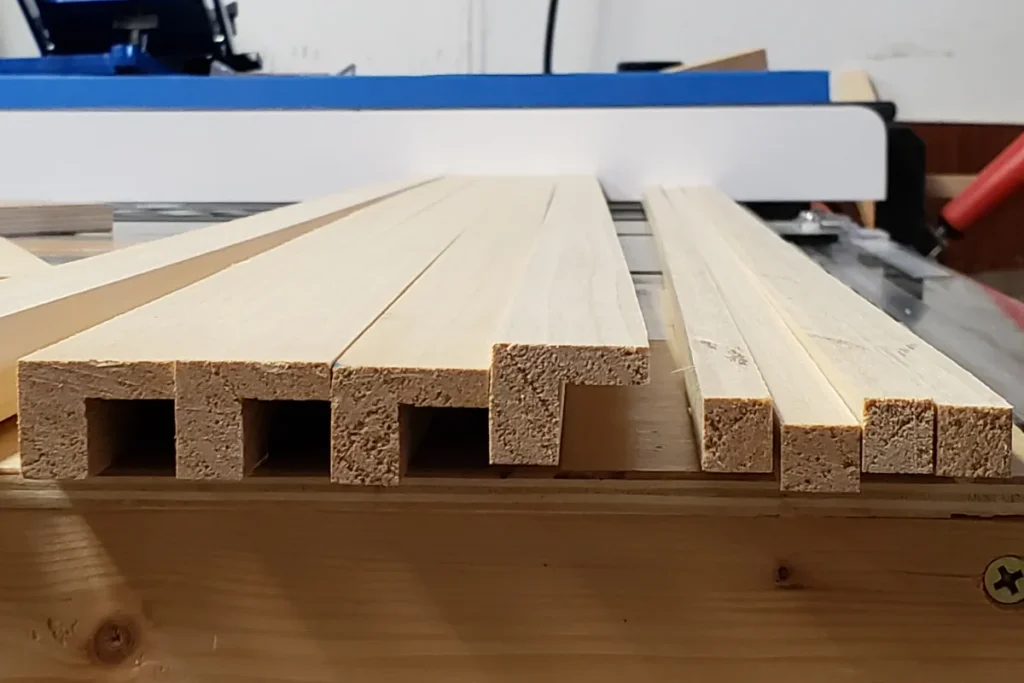
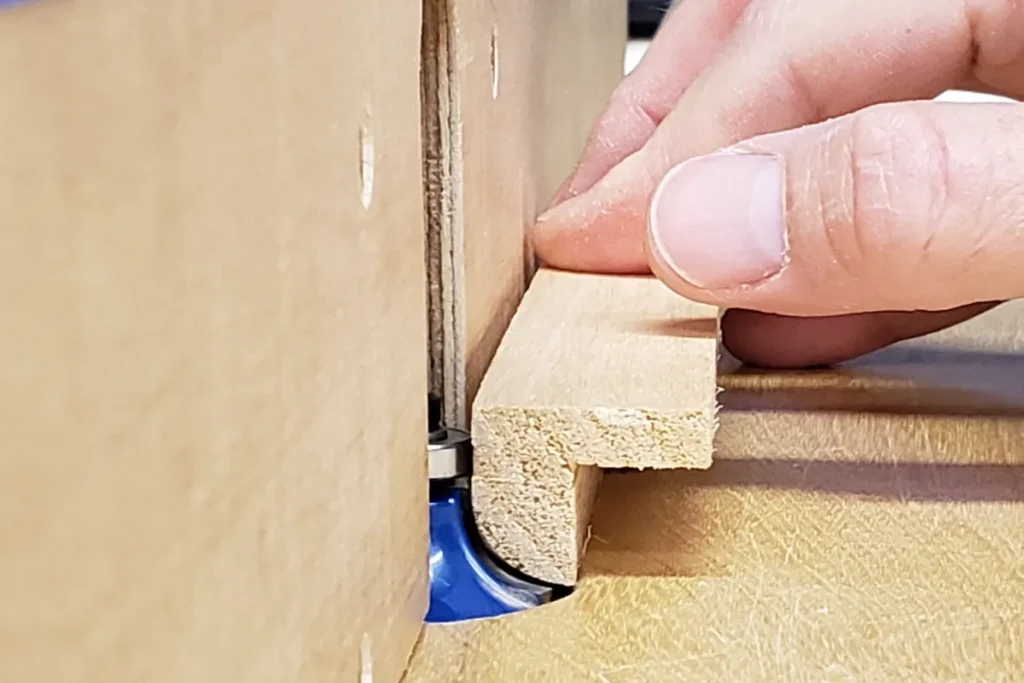
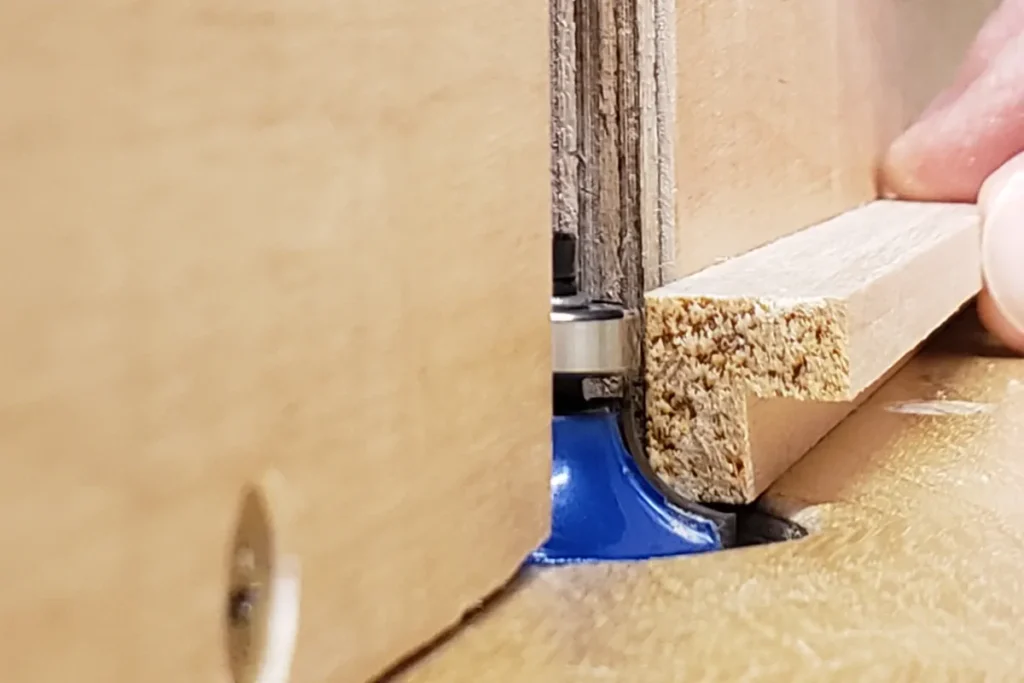
To round one edge I used 1/4″ rounding over bit and ran all the pieces once and dry fitted:
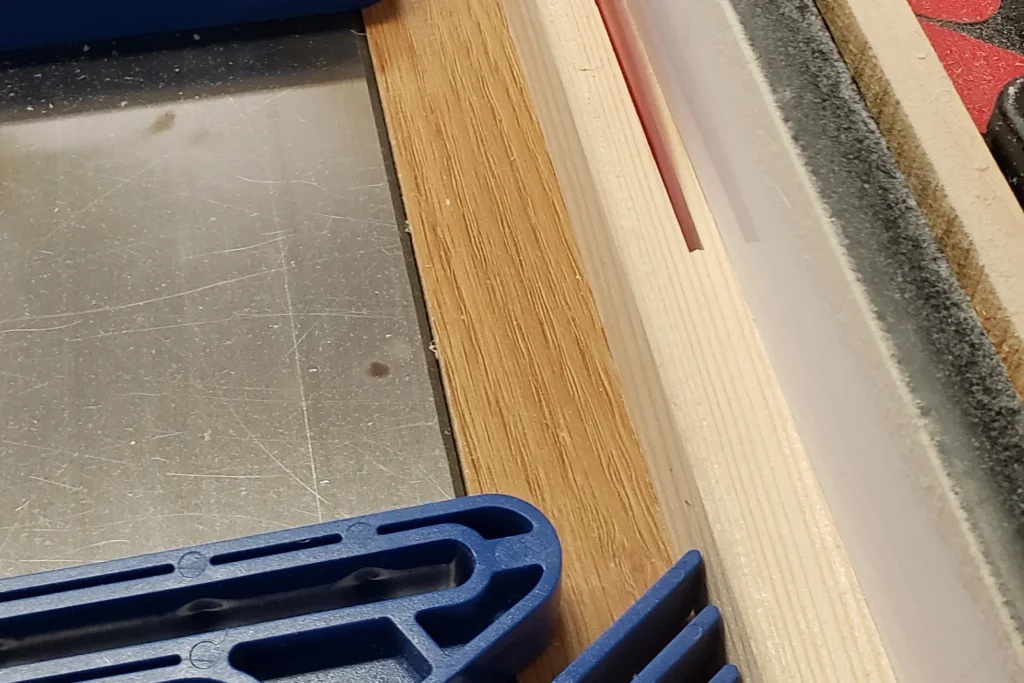
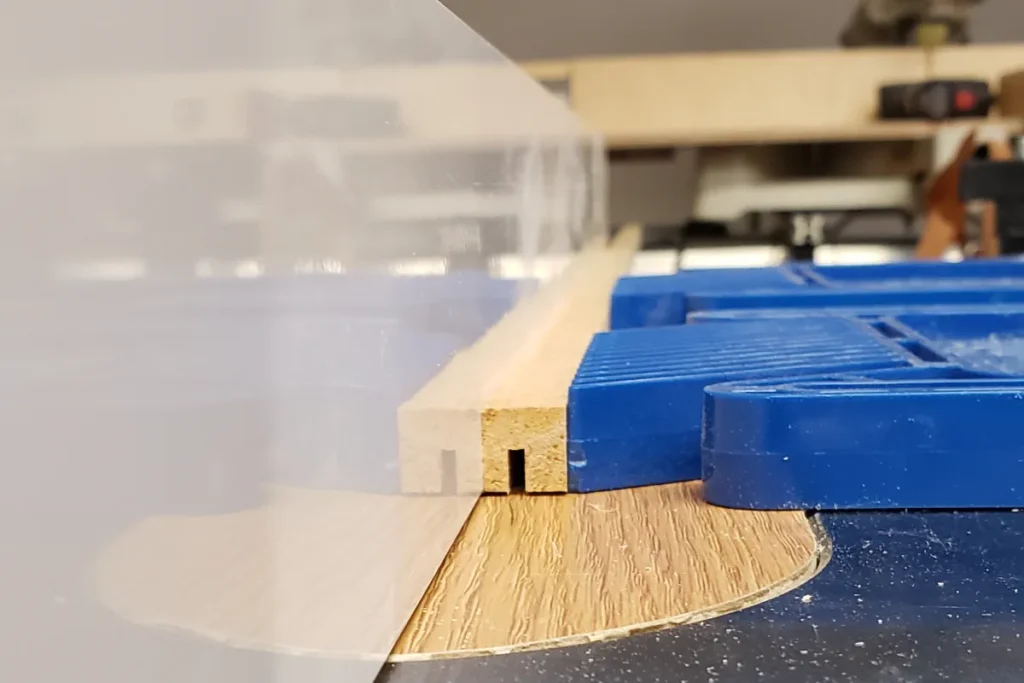
Next, I cut 1/8 inch wood strips with a table saw along the length of the pine wood piece that I had laying around. Be sure to use a push stick to keep your fingers away from the blade. Repeated this step 4 times and checked to see how it looks on the frame:
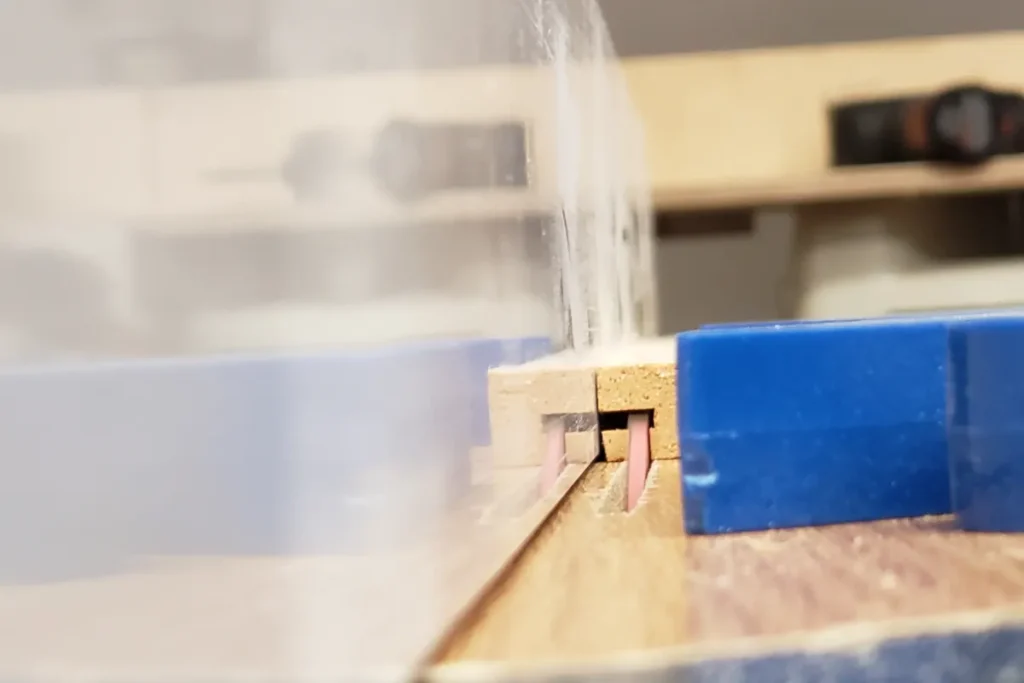
Then I moved on making inner moulding, which is same exact process as the outer one, except it needed two corners rounded instead of one and it was 1/2″ x 1/2″ in dimensions. I used the cut out pieces from the outer moulding and cut them to 1/2″ x 1/2″ in dimensions and cut 1/4″ x 1/4″ opening:
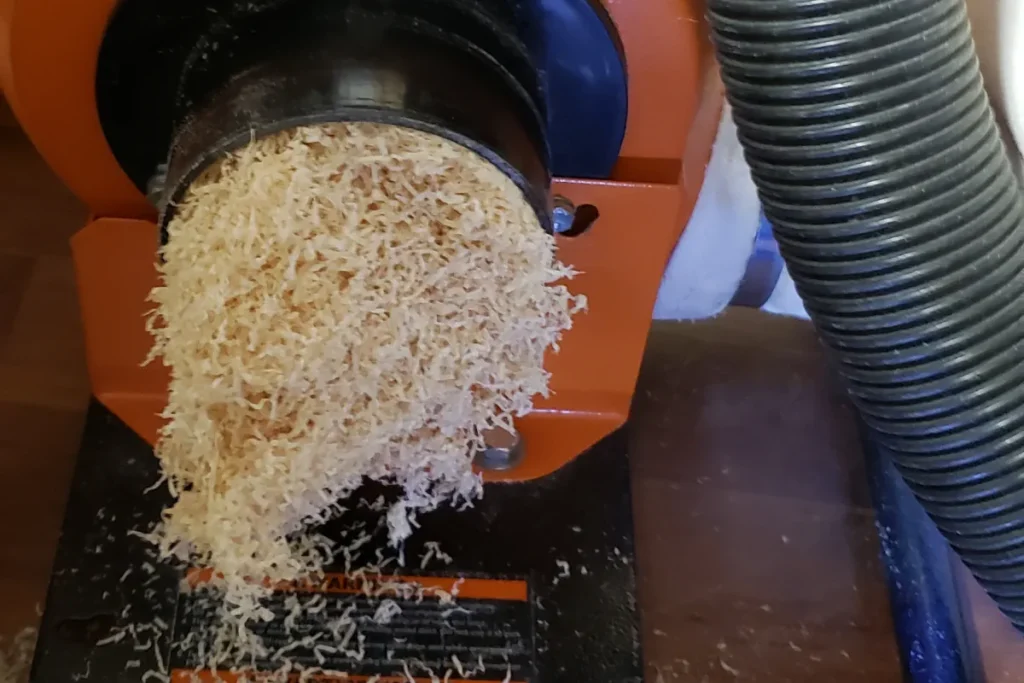
I am using SawStop Contractor Table Saw with Wen Dust Collector and saw dust is being collected fairly well. However, when I am cutting wood that blade does not go all the way through the wood I run into the issue were dust collector gets clocked and I have to clean up from time to time. Does anyone know why would this be happening? If you could provide your thoughts in the comments I would greatly appreciate it:
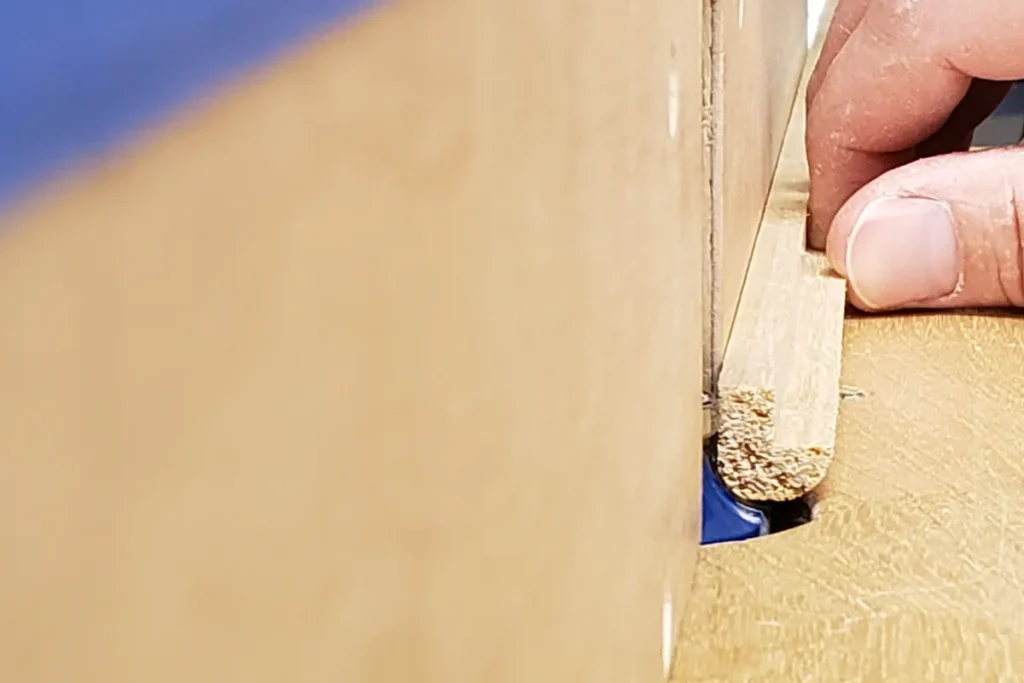
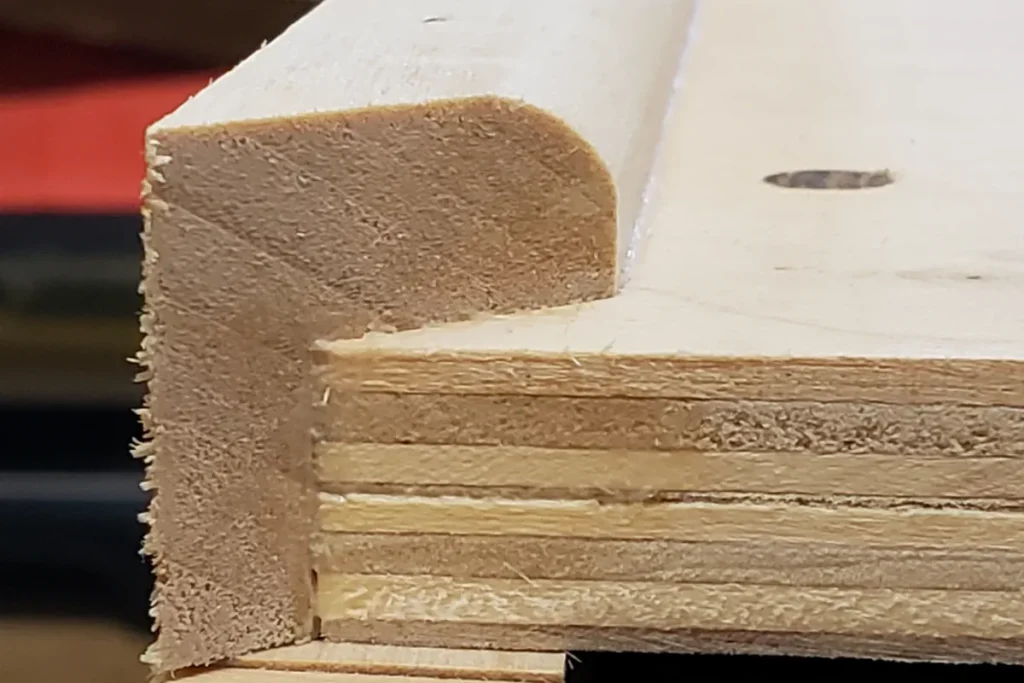
Once the front frame inner mouldings were cut to length and grove was cut, I moved on to rounding over two corners with 1/4″ rounding over bit:
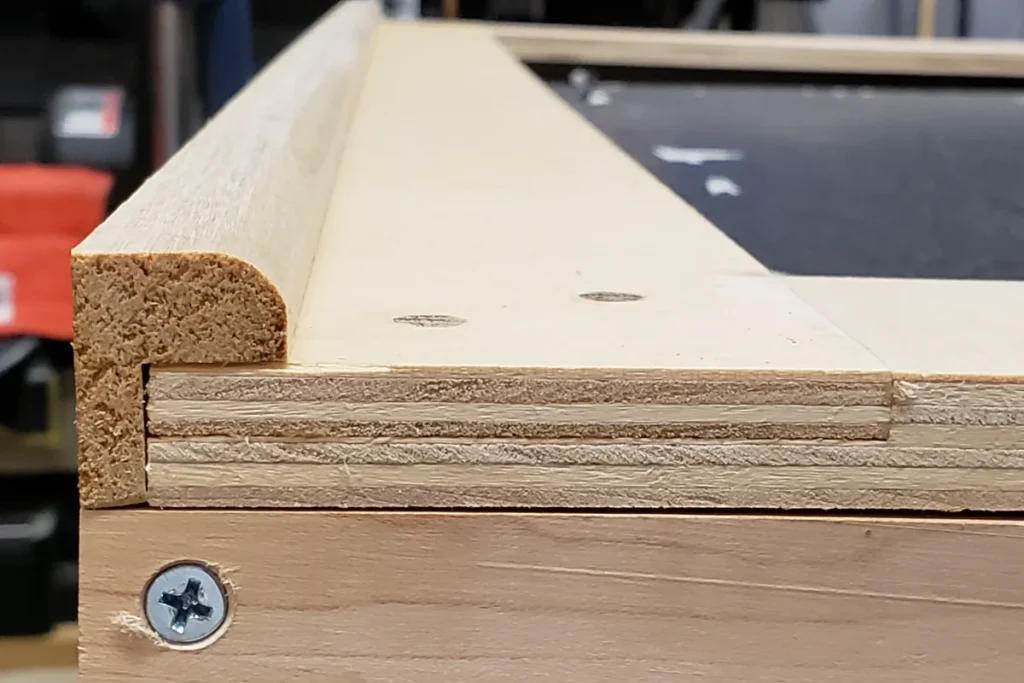
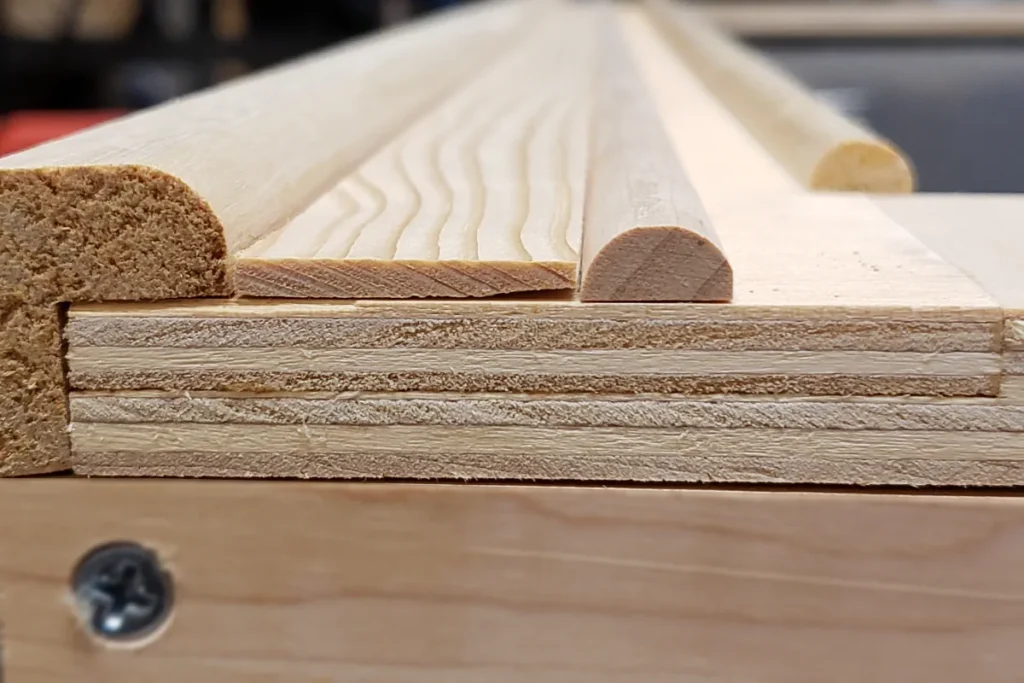
Behind the scenes I also did half round moulding by following exact same steps as for outer and inner mouldings except for half round moulding I did not have to cut out a grove. Here is how it all looks during dry fitting the pieces:
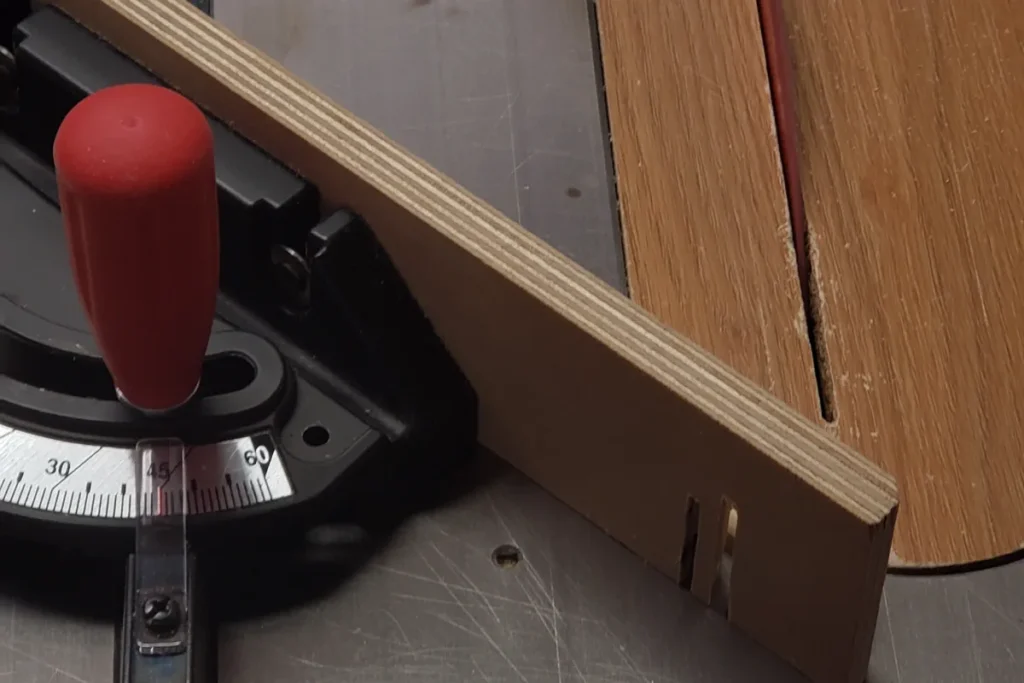
Obviously there still is some work needed before gluing it all together – cutting corners at a 45 degree angle. This is a fairly time consuming task and this one did not go without any mistakes. The most consuming task is fixing mistakes which is mostly always unavoidable if you do not measure 9 times before making a cut. I used table saw miter gauge that came with SawStop table saw. It worked just fine for this type of work, since this is not a fine woodworking project.
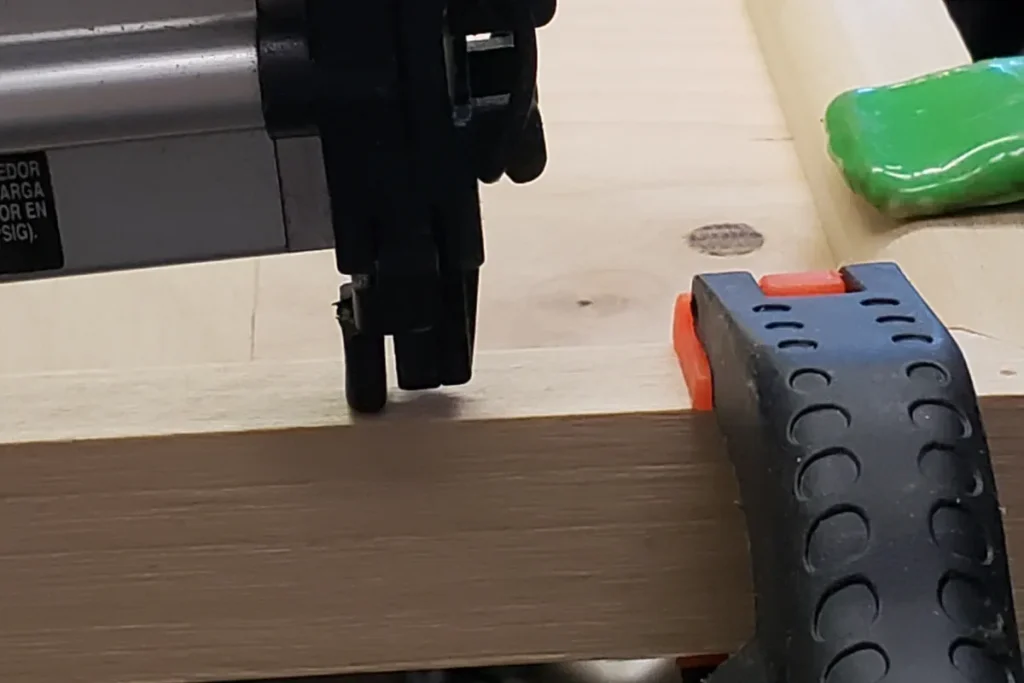
Once I had moulding corners cut at 45 degree angle I moved on to glue them. I started with the outer mouldings first. Once I applied glue and secured one corner with clamps I used 18 gauge brad nails to secure mouldings to the frame:
I followed the same steps to glue all mouldings and here is how it all came out:
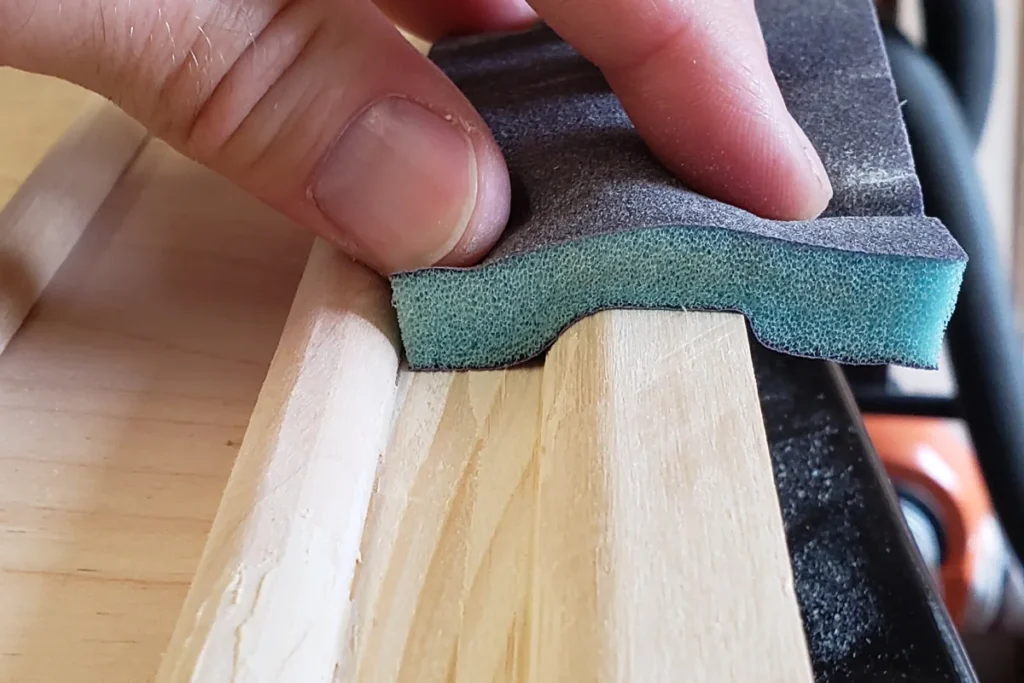
To hide bigger cracks and joint imperfections I used wood filler that I bought at Wurth Wood Group.
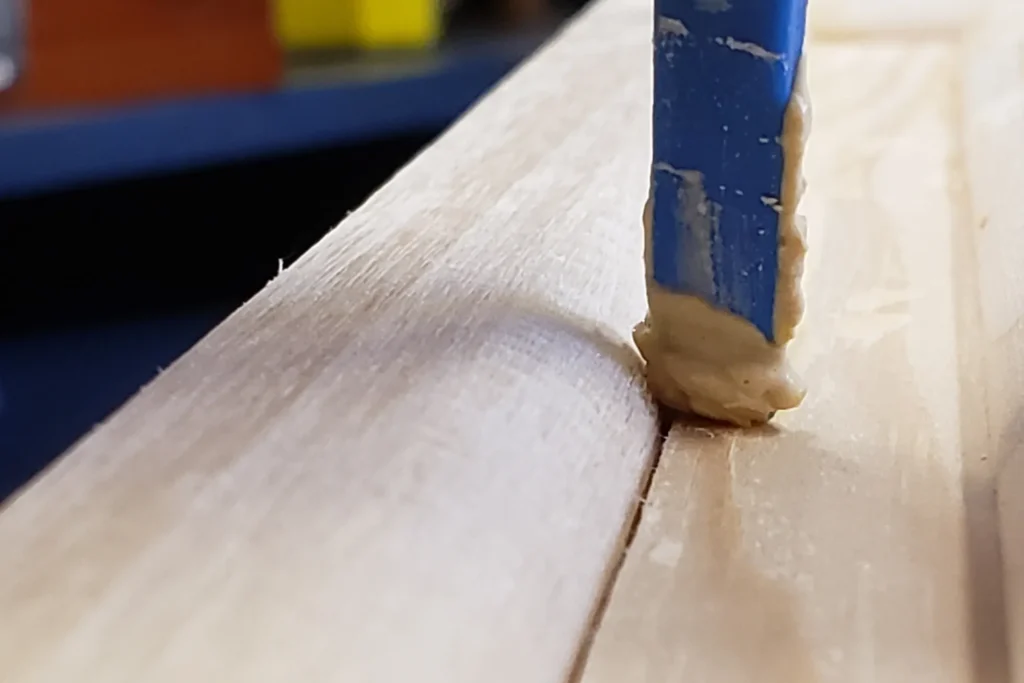
After wood filler dried I used sanding sponge to smoothen the surface:
Painting picture frame
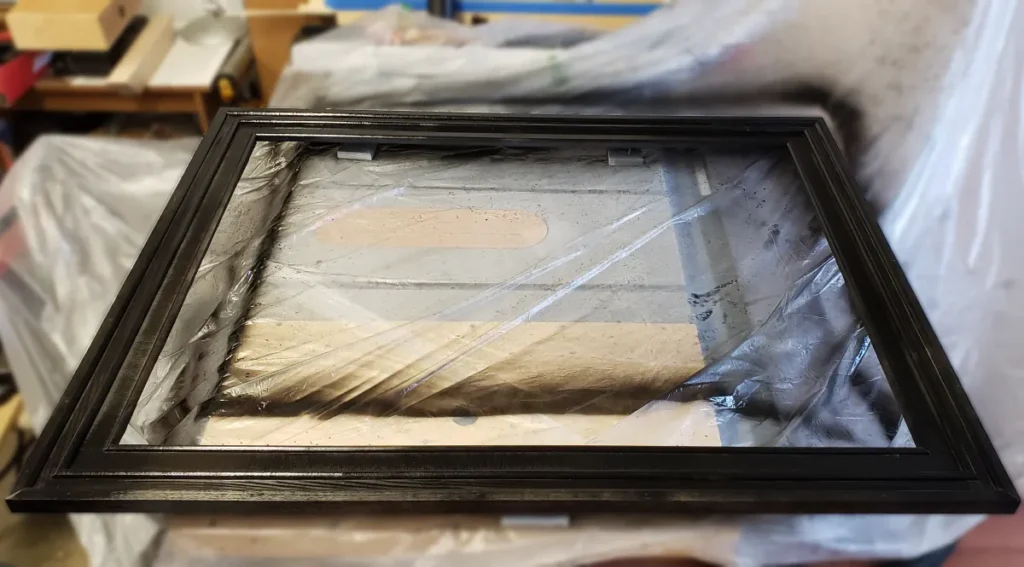
Before I started painting, I put high density painters plastic sheeting over my table saw. I decided to paint this picture frame using Krylon spray lacquer. I followed the directions on the can and was very pleased with the results. The lacquer went on evenly and smoothly, and the frame looks great! The lacquer dries quickly, so I was able to spray several times in one day. I’m very happy with how the frame turned out, and I would definitely use Krylon spray lacquer again.
For painting projects I use custom made stands. Very simple to make you need some scrap wood and a few screws:
Assembly of the frame
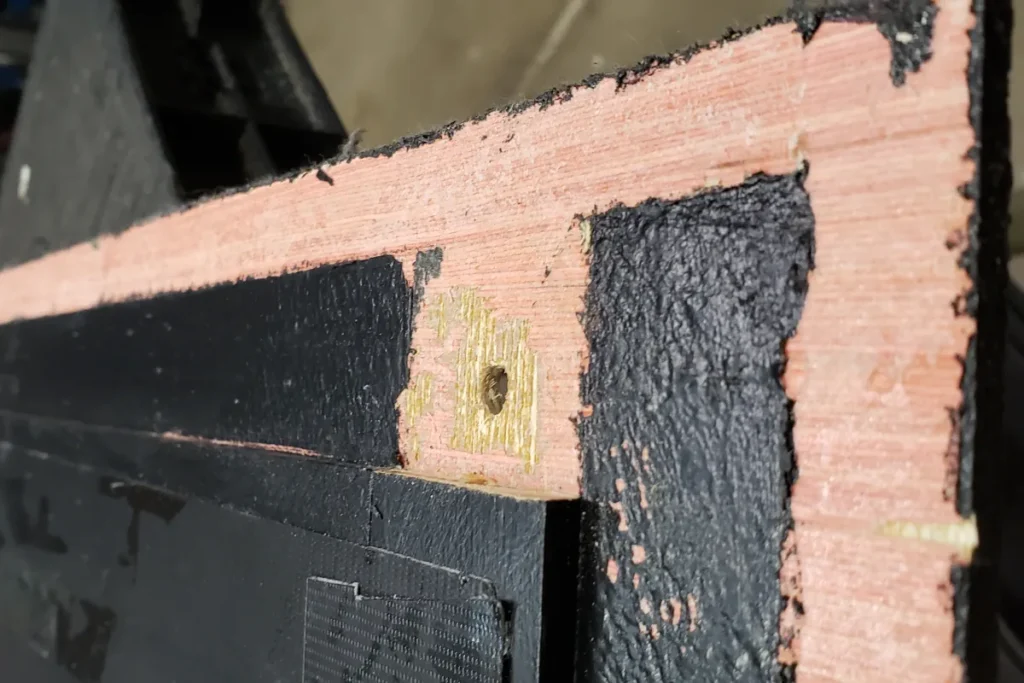
After the paint dried, it was time to put everything back together. I started with connecting front and back frame parts. First I attached the hinges to the front of the frame. I used a drill to make pilot holes for the screws, and then screwed the hinges into place. I did the same for the back of the frame. The advantage of the this frame is that screws that hold hinges are screwed into wood both to the front and back of the frame compared to the original design where front part of the frame was made out of MDF. Here is how it all came out:

Once front and back parts of the frame were connected I placed the red sheet of paper with pictures back into the frame. I have attached them with heavy duty stapler. I have also attached letters with the same stapler, however metal staples were so visible so I decided to paint them with yellow color to match the color of the letters:
And that concludes all the work that went into repair picture frame. Obviously lost of mistakes were made during the process which make overall project to be done over 3 weekends. However as an added bonus I added frame holder to help with changing pictures – a front frame holder:
If you’re looking for a fun and creative way to spruce up your home, try rebuilding an old picture frame! It’s a simple project that anyone can do, and it’ll add a unique touch to your décor.
I would love to see similar projects that you have worked on! Please share them in the comments below.